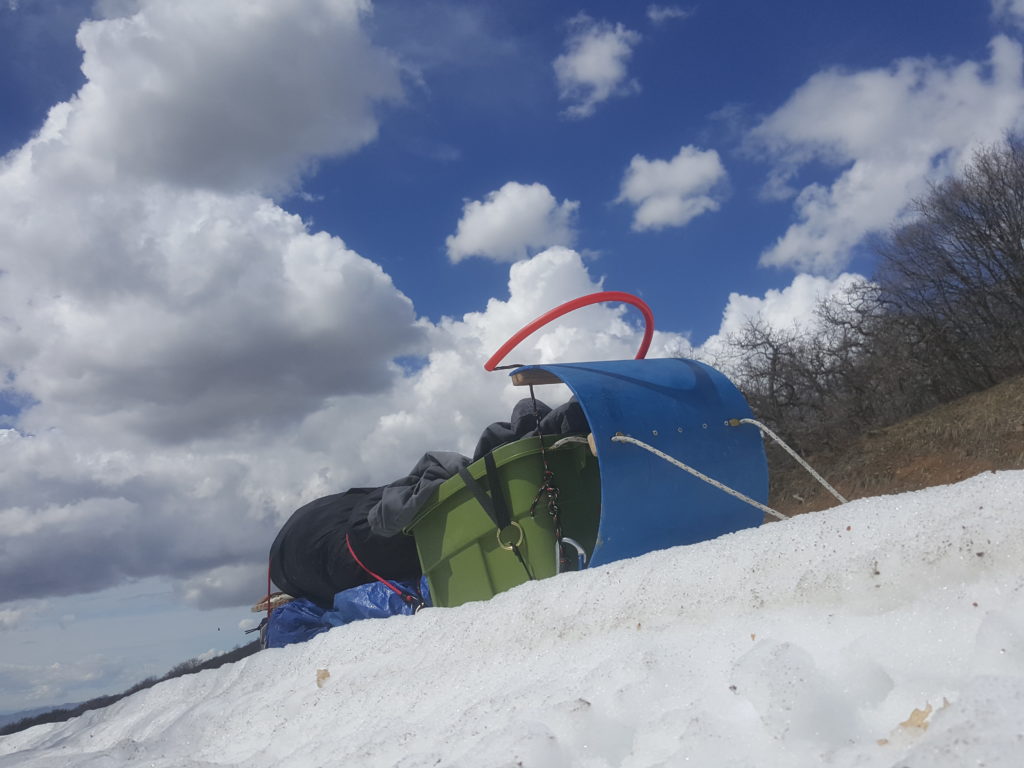
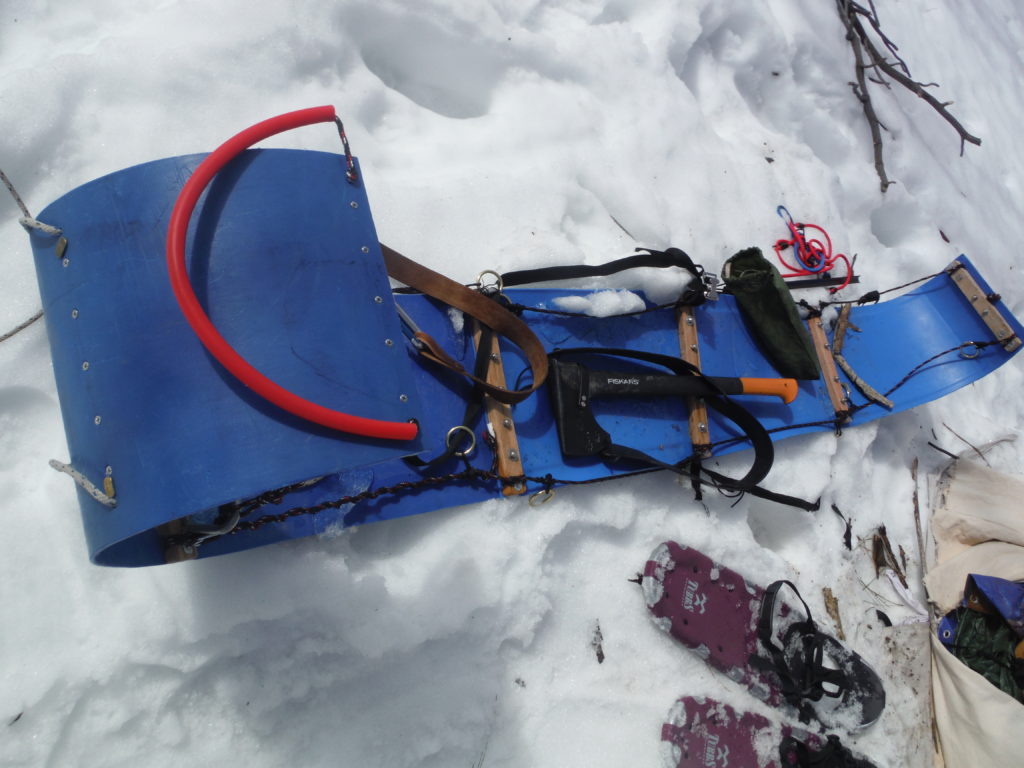
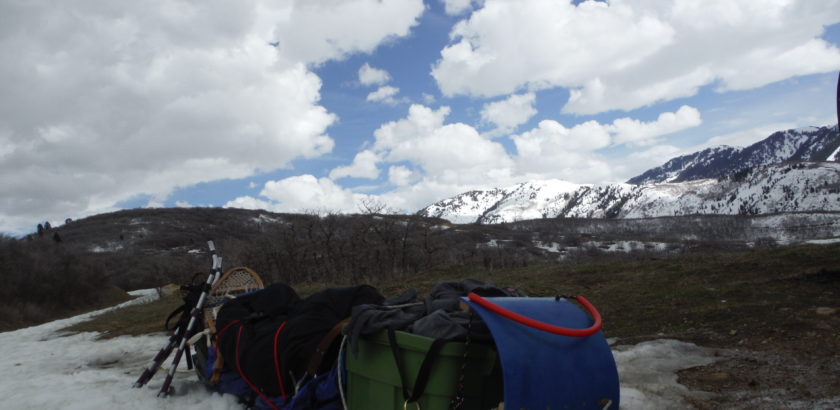
Winter time excursion into the white, the cold and deep into the fun!!!cargo toboggan made out of 55 gallon water barrels I had to splice and overlap two water barrels.. no reason to put off this thing until I can get better stuff I just used what I could scrounge up.. we will see how it does…
Got to get Outinit even in the winter. I have been snowshoeing in my area in the winter months for a while now. I have plenty to do in the winter it is a time to craft, weave, work on many half finished projects.
I always seem to hole up too much and don’t get out enough. Although I go snowshoeing I wanted a better winter activity to get out and enjoy the mountains.
I found It, winter travel with the use of snowshoes and cargo toboggan! This method allows me to carry needed gear to brave the elements in relative comfort and its so cool!
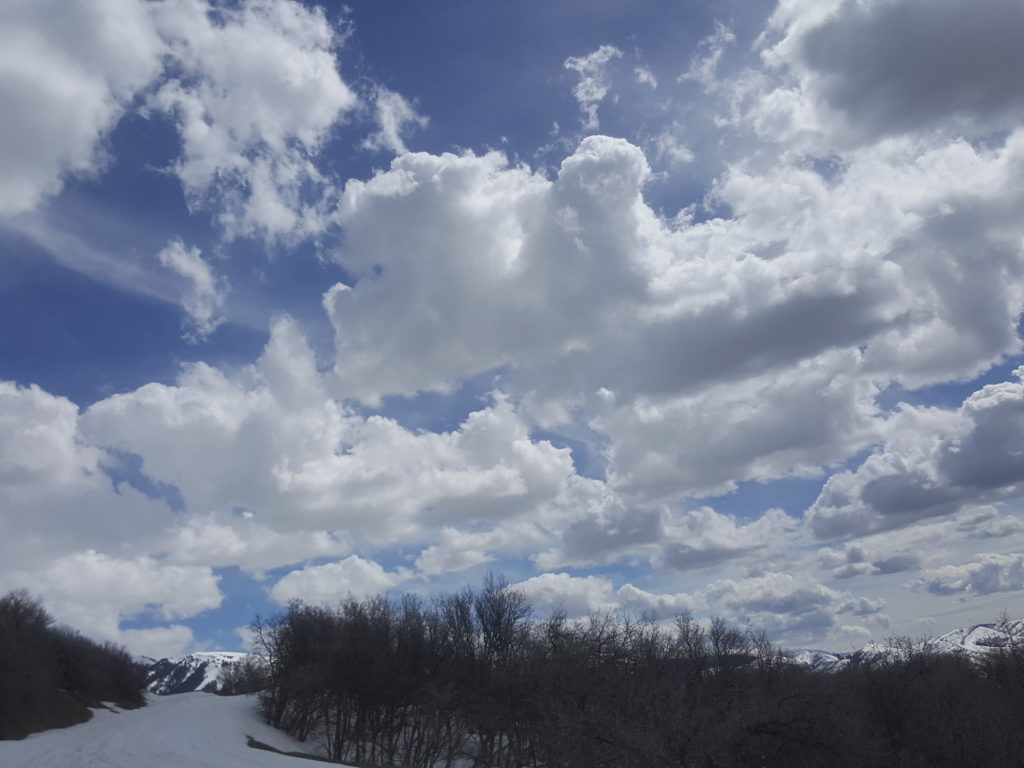
This style of winter travel was used traditionally in the North by Natives.
The Hudson bay trappers also used wooden cargo toboggans after the manner of the Natives of the North.
I found the book, A Snow Walker’s Companion By Garrett and Alexandra Conover, this book is full of useful information about winter travel. As well as other books by Calvin Rutstrum.
Then I found Kielyn and Dave Marrone’s Site: Lure of The North!!
I was hooked!!!
I tried to follow and emulate what Kielyn and Dave were doing.
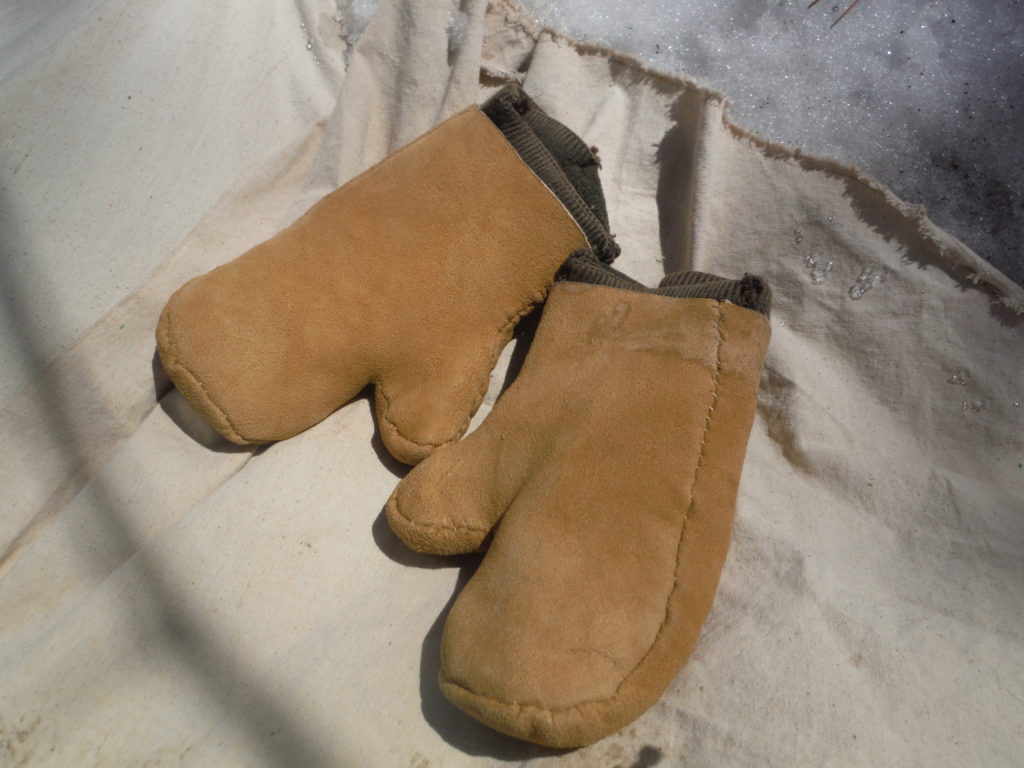
I was hooked on their ideas and they do it in a big way. I followed their videos and information on their site making mittens and a pair of mukluks using an Elk hide that I brain tanned.
Make sure to check out their awesome website and videos.
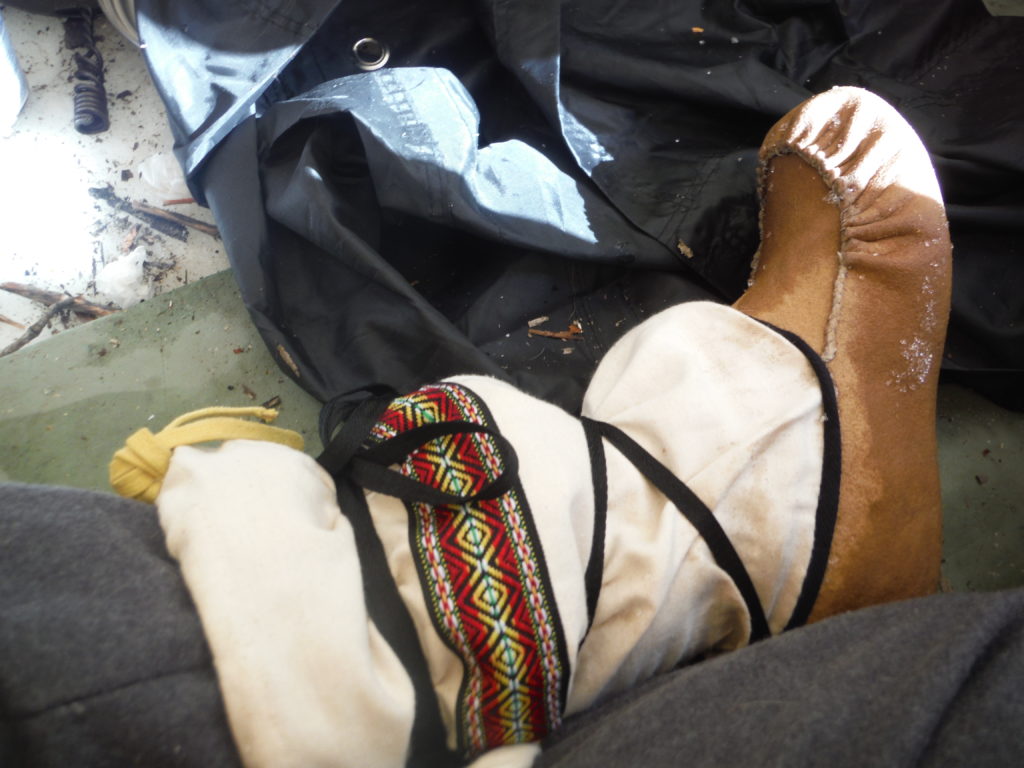
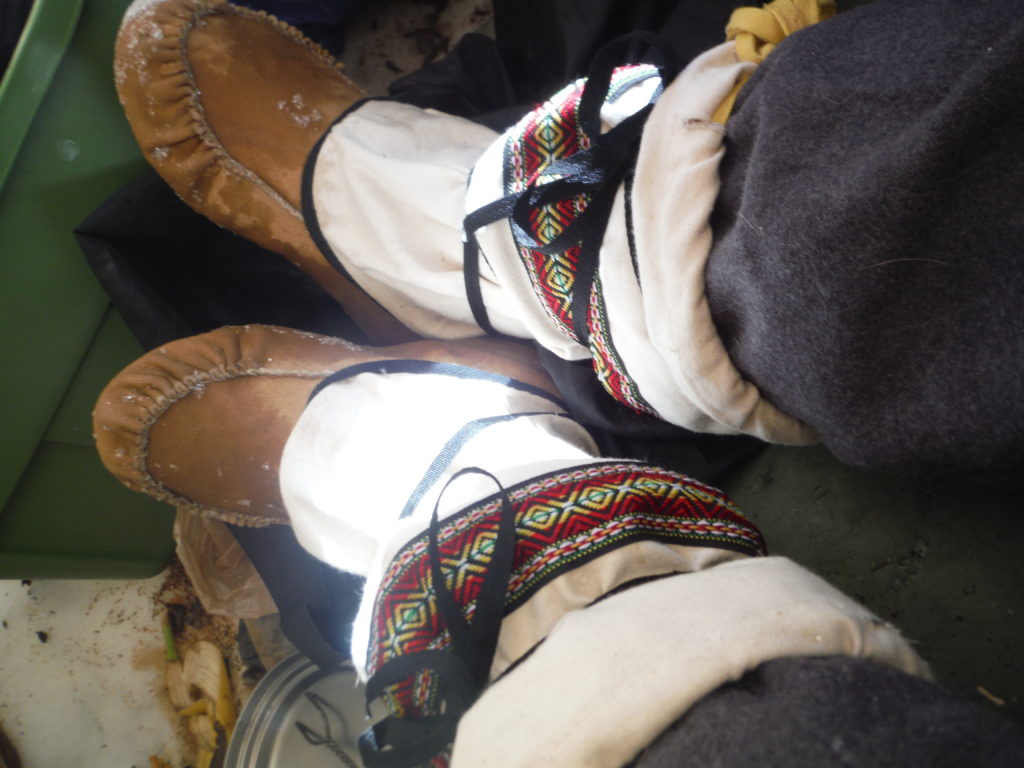
Wearing mukluks during the warm spells is not ideal as they can soak up water. But, I made them to be used so I wore them anyway.
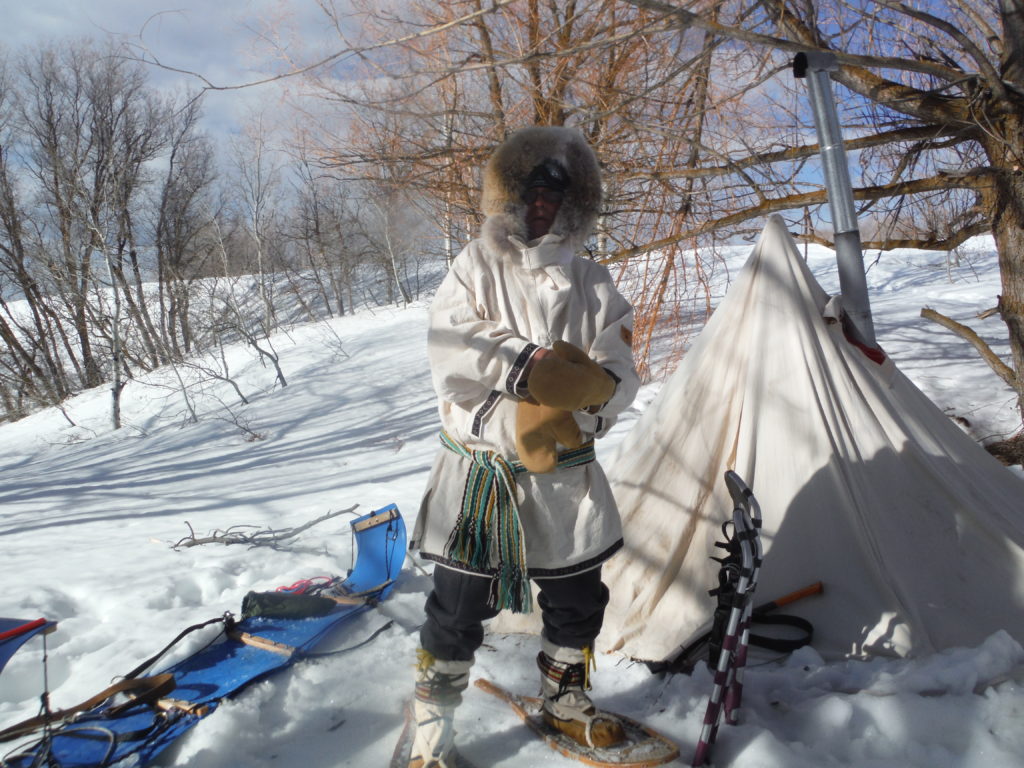
I purchased a D.I.Y. 10 oz. Anorak kit from L.O.T.N. as well. The kit was excellent! I was able to make this very useful piece of kit following their instructions. It was way too warm for it!! I am only wearing my wool long john top under this…any more layers and I would be sweating.
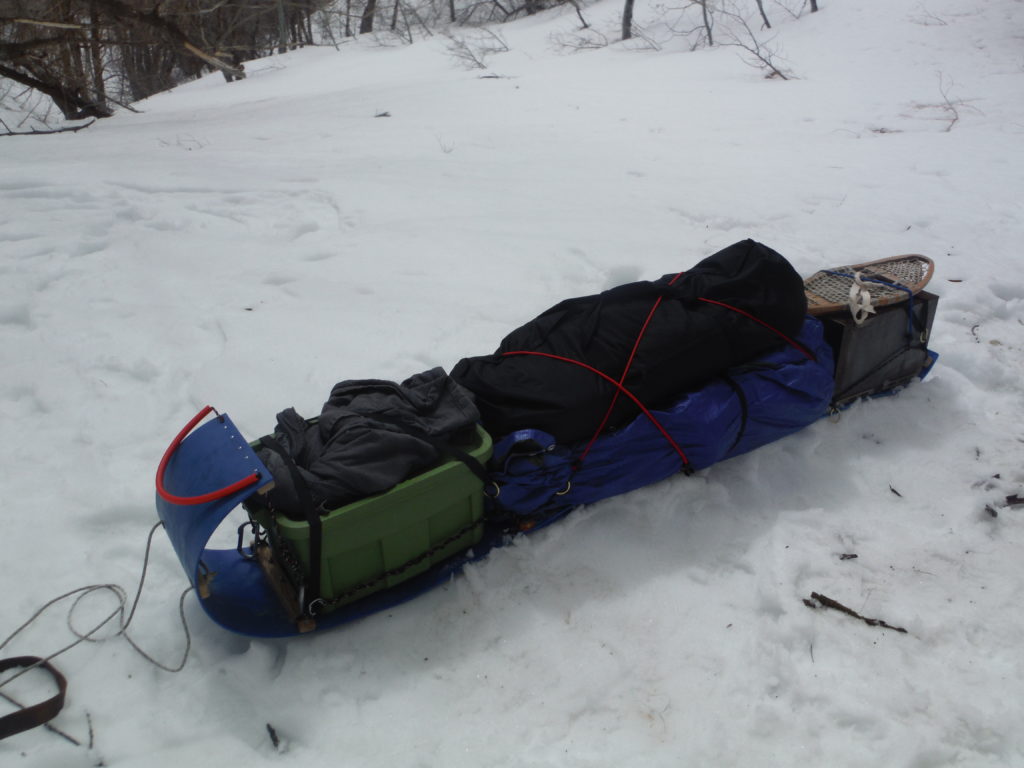
I did not have a way to get a kit toboggan this season. But, I did not want to wait to try toboggan travel. So I built a Toboggan out of trash barrels that I used to tan hides in. cutting the barrels and overlaping the two barrel pieces.
Again “roughly” following what Dave and Kielyn are doing! ! I scabbed together a toboggan that has 8 feet of packable space for gear.
And I tapered the toboggan as Dave described.
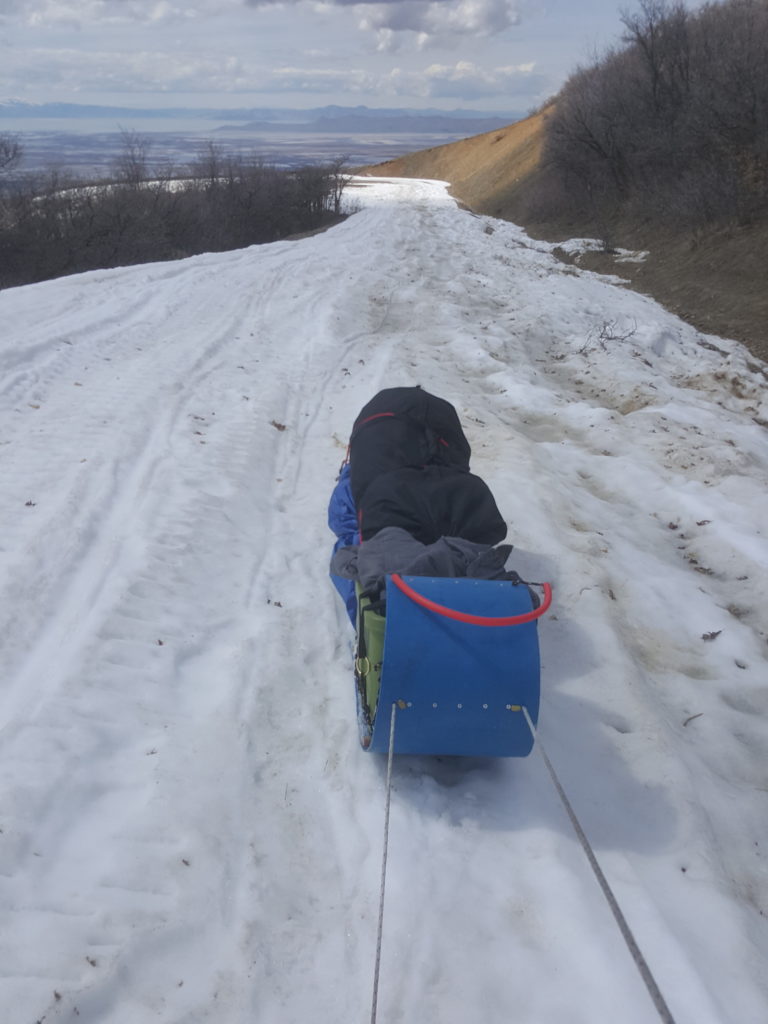
Going uphill it hauls like a pig!!! I had more gear than I needed but I wanted to try different items while testing my kit.
Pulling up hill over a road that had been used by Snowmobiles and A.T.V.s, the toboggan had a problem of laying over into any rut of considerable size. I was really glad that I made a pecs cover for the pull handle. I feel it made a difference while dragging it out.
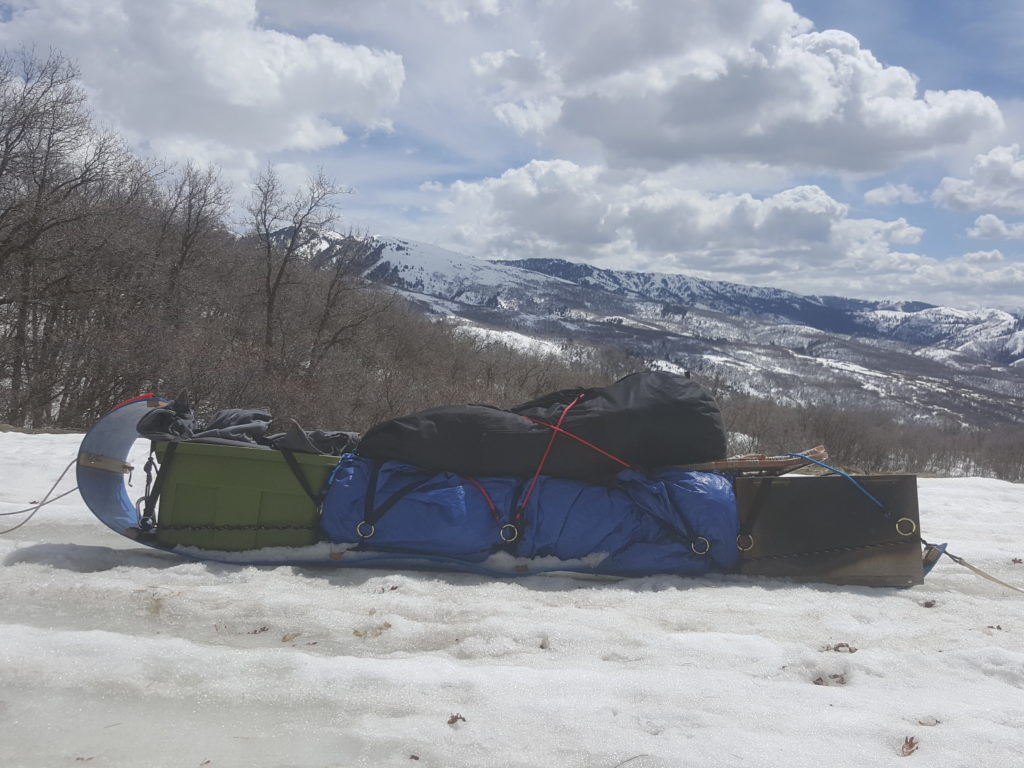
Moving like molasses on a cold winter’s day.. I pulled uphill in the direction of the camp I had in mind. Taking rest and water breaks along the way. It was a heck of a workout!! Making me feel like an old worn out mule!
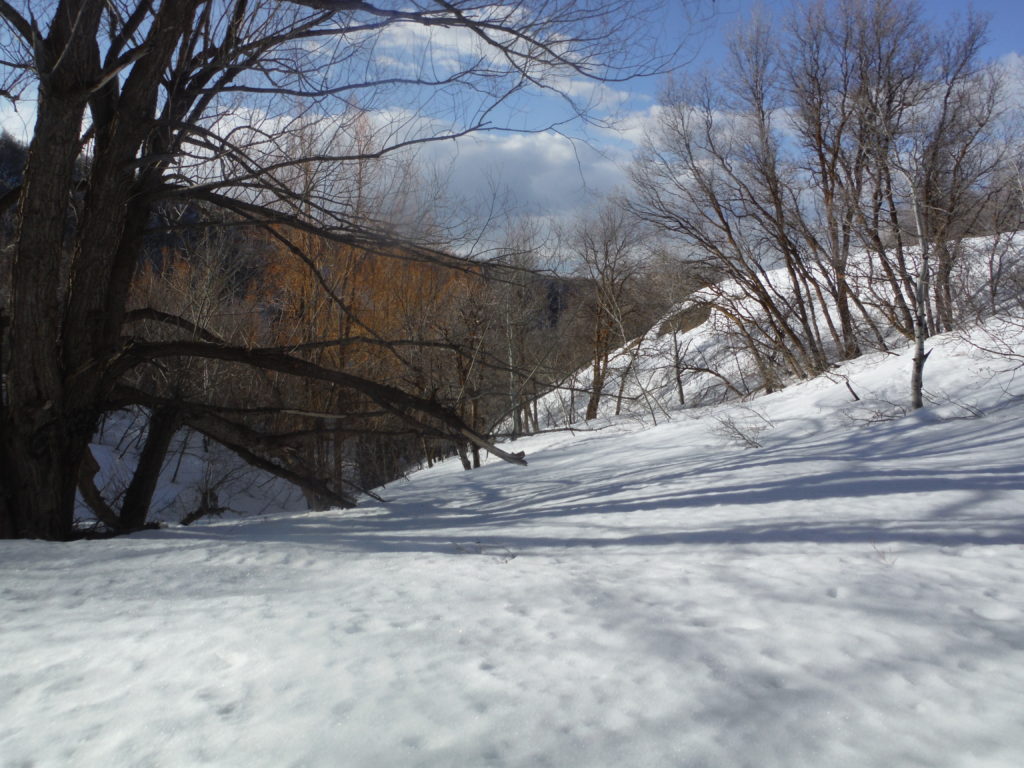
I slept really well though.
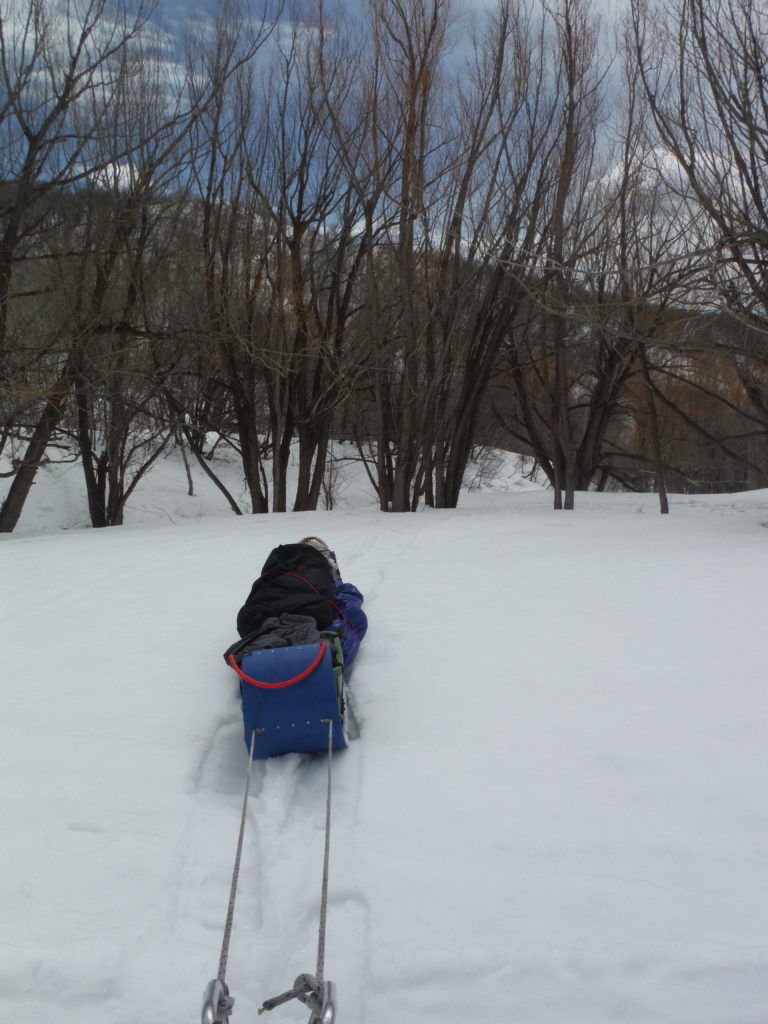
When the toboggan was in open undisturbed areas it followed and floated right in my snowshoe track as Kielyn and Dave have stated on their videos. That was a big relief compared to the moguls and ruts on the road.
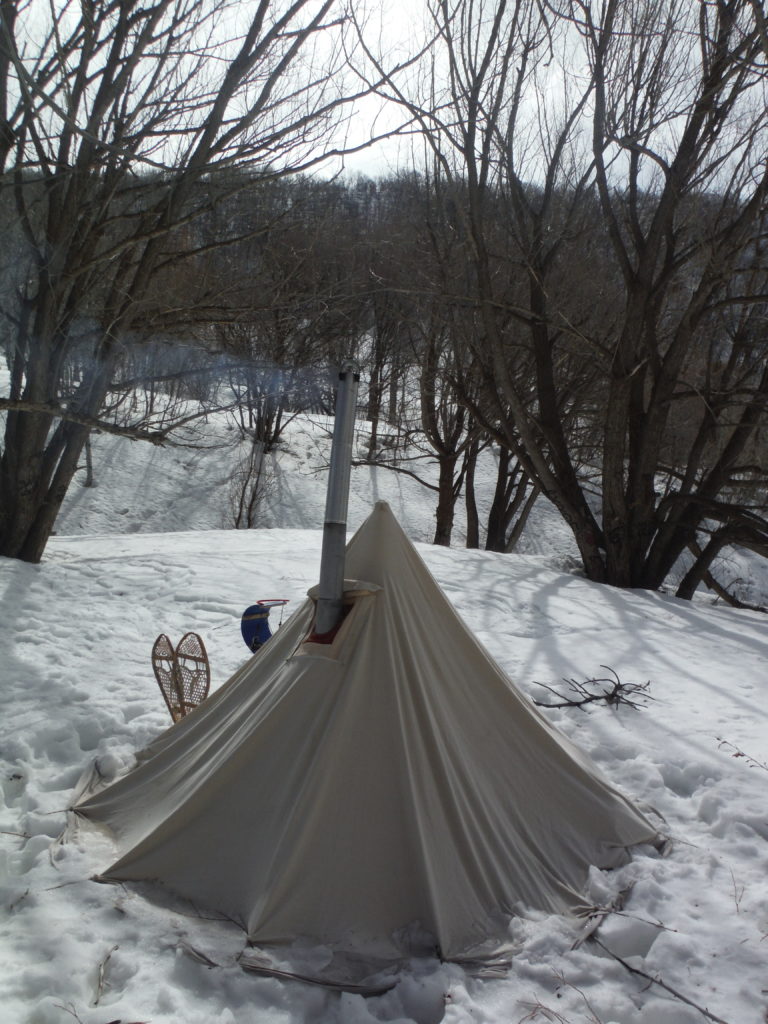
I also built a hot tent using canvas paint tarps. The basic design for the layout was from Lonnie A.K.A. Far North Bushcraft and Survival.
He did an awesome video of how to make a tarp hot tent. Check it out.
I really liked what he did so I followed the layout. But I added a sod cloth around the edges and I stake it out differently. I used an adjustable paint pole for the main support. I’m still deciding on this after the heat from the stove caused the pole to fall down, bringing the stove pipe with it. Pitching the hot tent in the snow went way differently than test runs in my yard!! Good to see how I and all my gear function in the hills, It’s a reality check of the picture in my head of how I think things will preform! Experience is earned from doing!
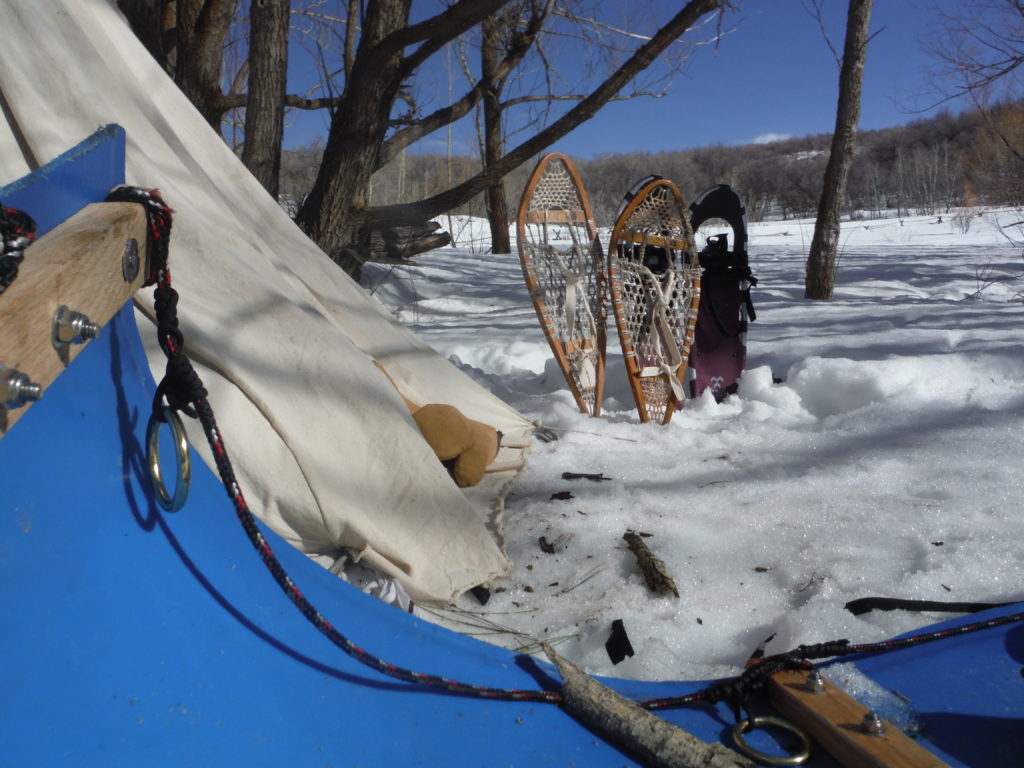
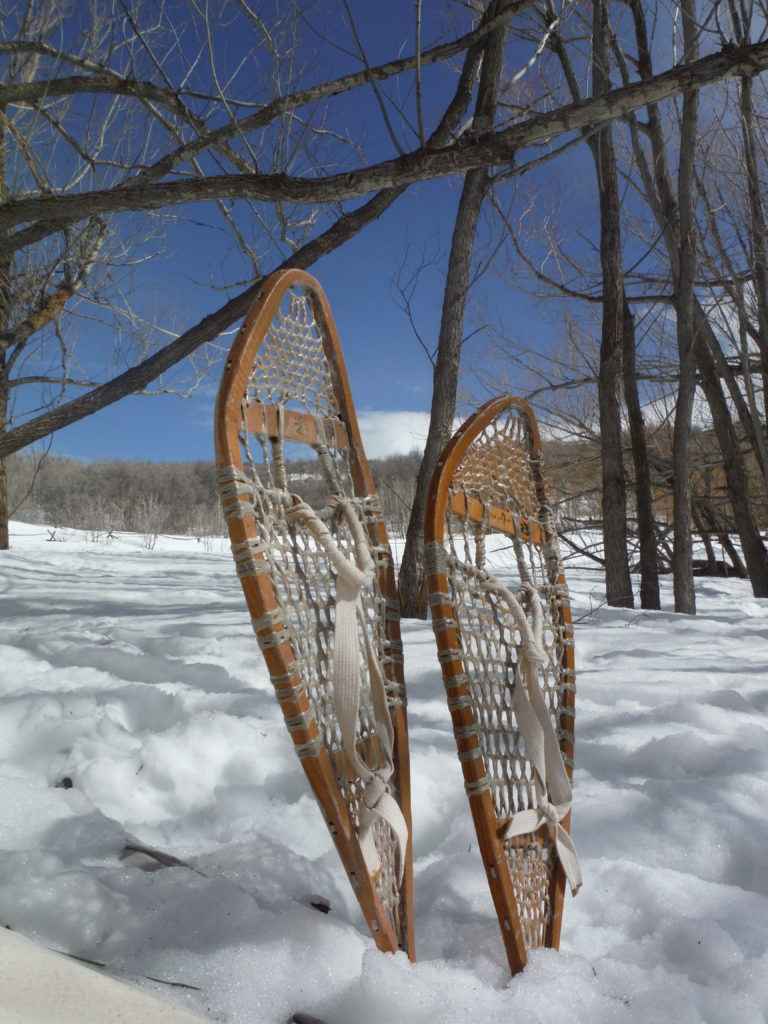
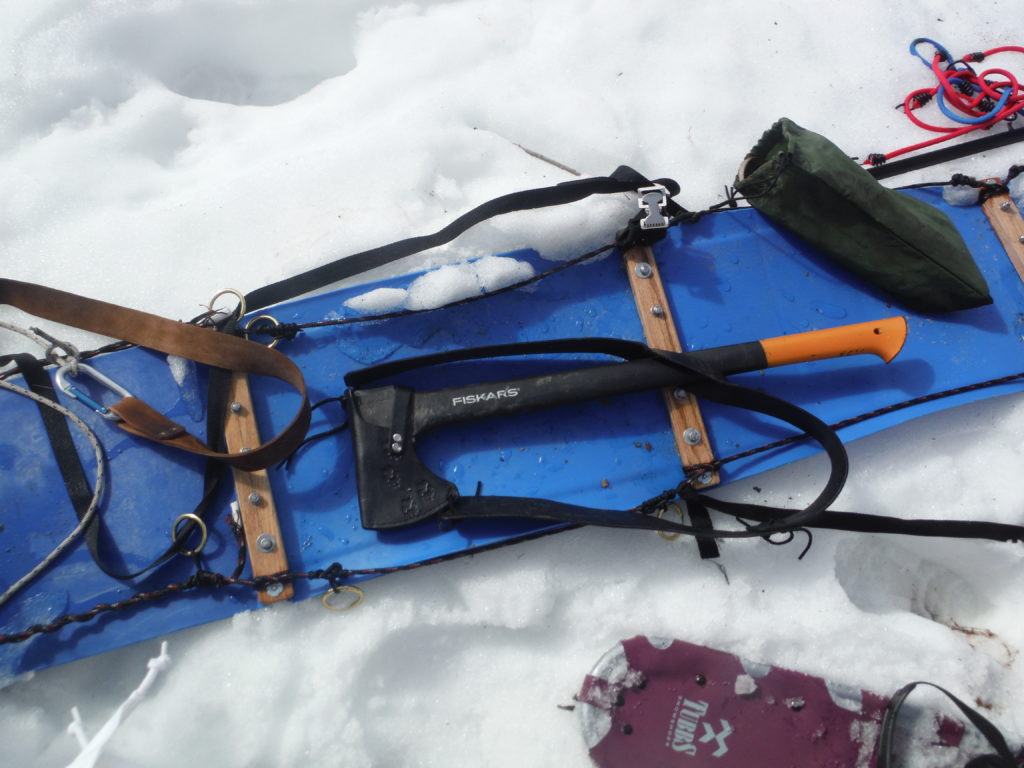
I have 2 pairs of snowshoes, both my wife bought for me over the years. The Tubbs she got for 5 bucks at a yard sale… because the binding rivet was broken.
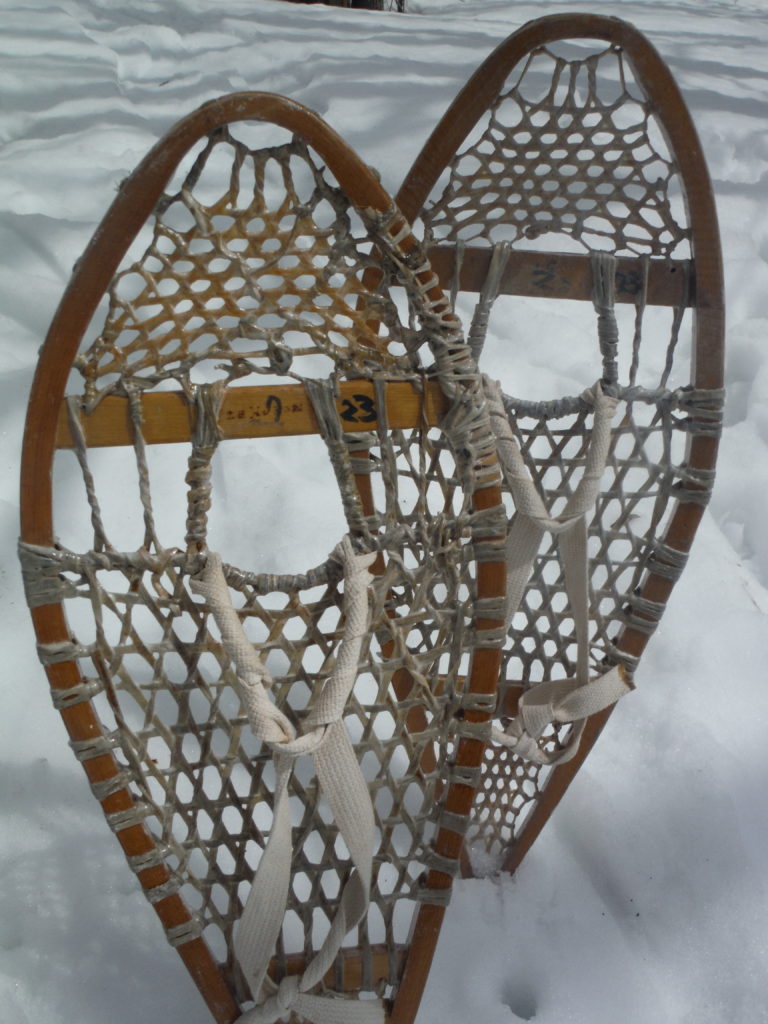
The other traditional pair she and my daughter picked up for 5 bucks. They were stapled to the wall at a local restaurant. Ha ha! I had to CPR them back to life!! One shoe was split at the cross bar so I had to do a makeshift repair with wood and deer rawhide that I made. I wrapped the repaired section and reinforced old rawhide with it. Its ugly but it works! These Snowshoes are small for me. Despite being able to fall down just as goofy in this pair as well, I plan to upgrade to a wider and longer pair, just to make sure, and I do like a challenge!!!
On the trail my Tubbs broke again. You guessed it, at the original rivet. The last original rivet left. The other rivets I have replaced seem to be holding up well and have not broken after hard use.
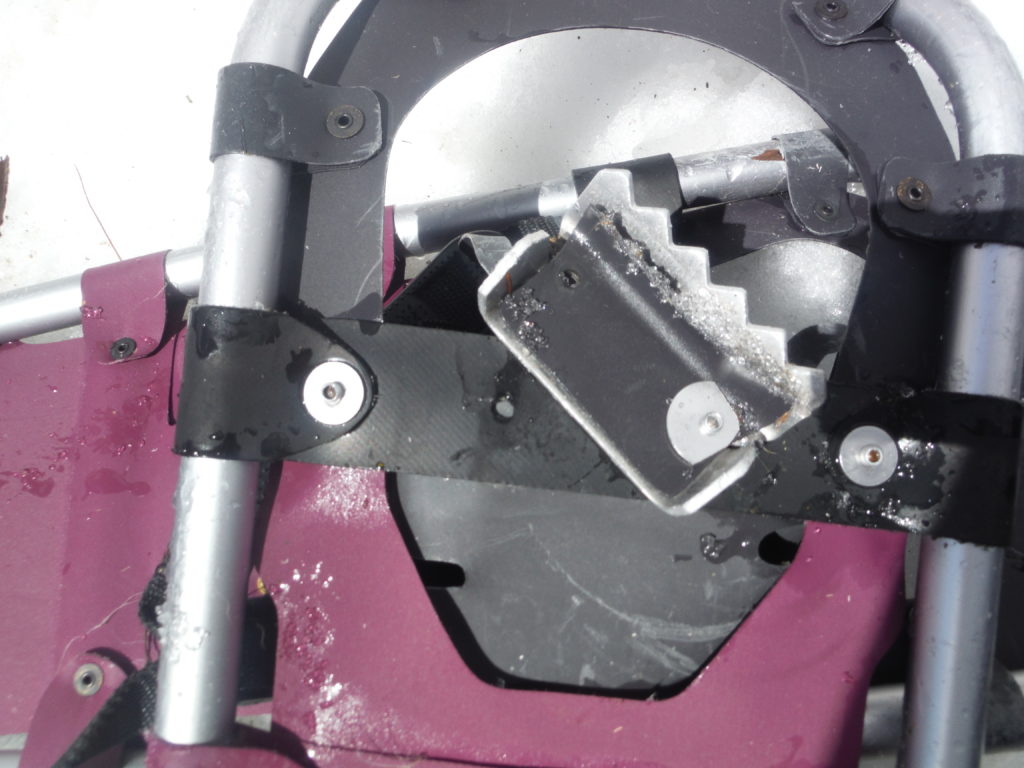
I would not venture out without a backup pair of snowshoes. Getting stuck in deep snow without the ability to walk out easily is not a scenario that I would like to play out. Here, however the road was easily reached from the area of deeper snow. On future treks 2 pairs will be standard!!
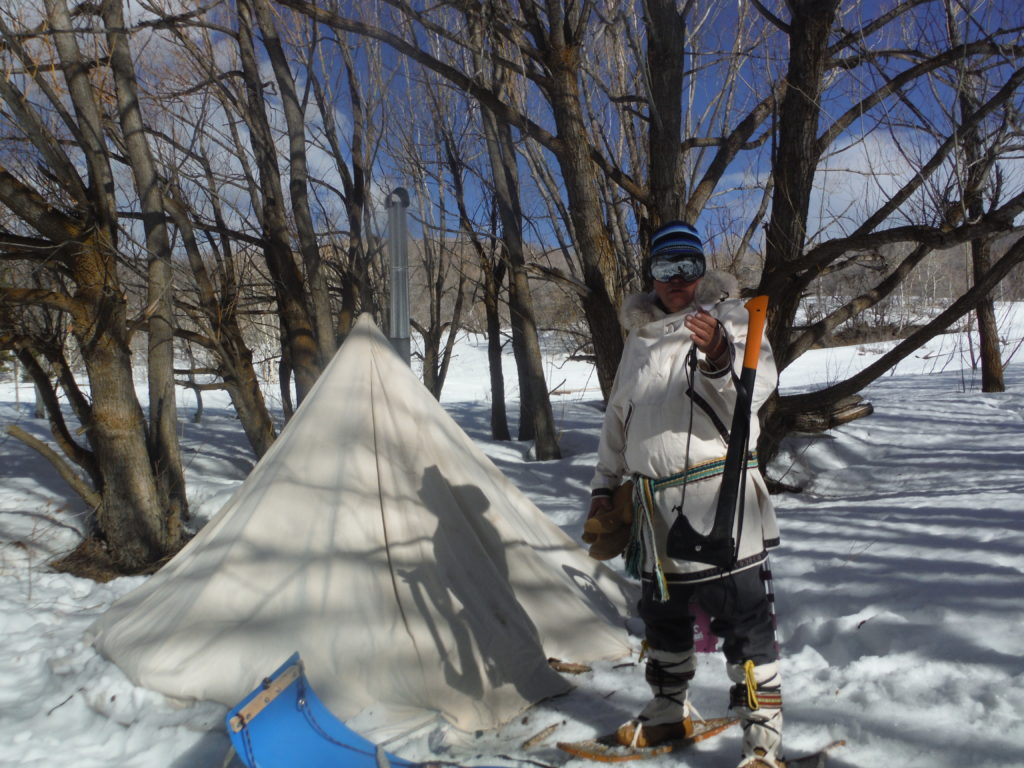
This axe carry was made for me by my brother Fred. It was patterned after an axe carry outlined in an article by David Wescott and Steve Watts. Great way to carry your axe while on snowshoes or hiking around the woods.
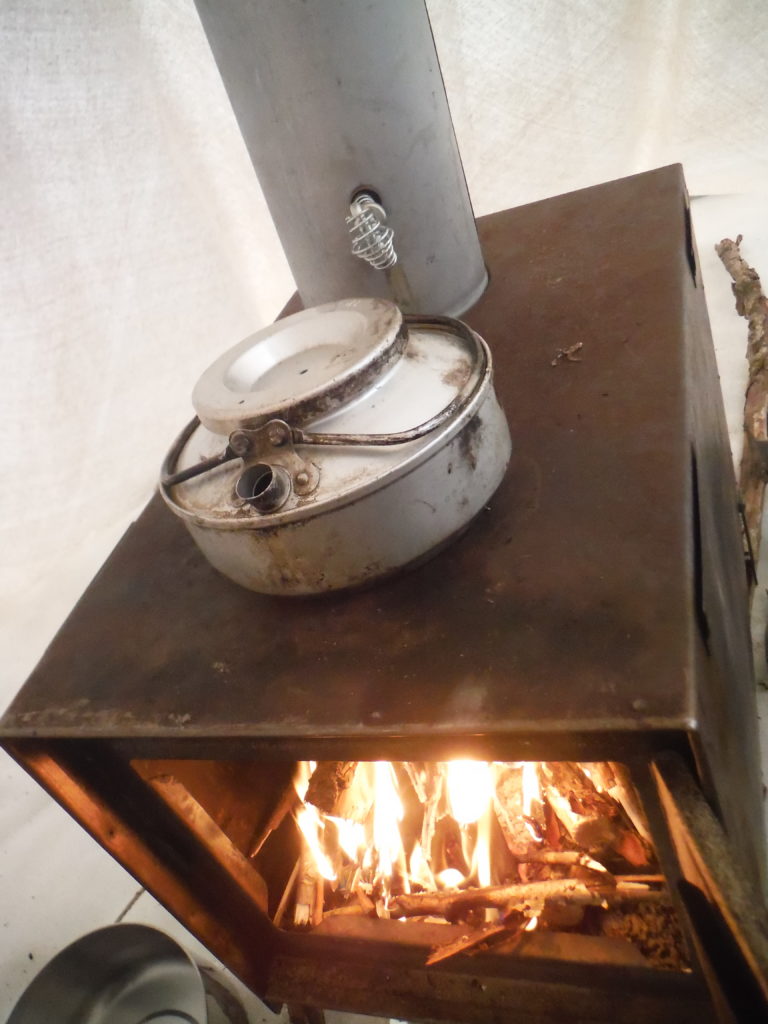
This kettle has been on many adventures. A gift from my mom.
My Parents have both passed on. So, having items that I carry as part of my gear remind me of them. I miss them both!!! So, hug them if you got them!!!
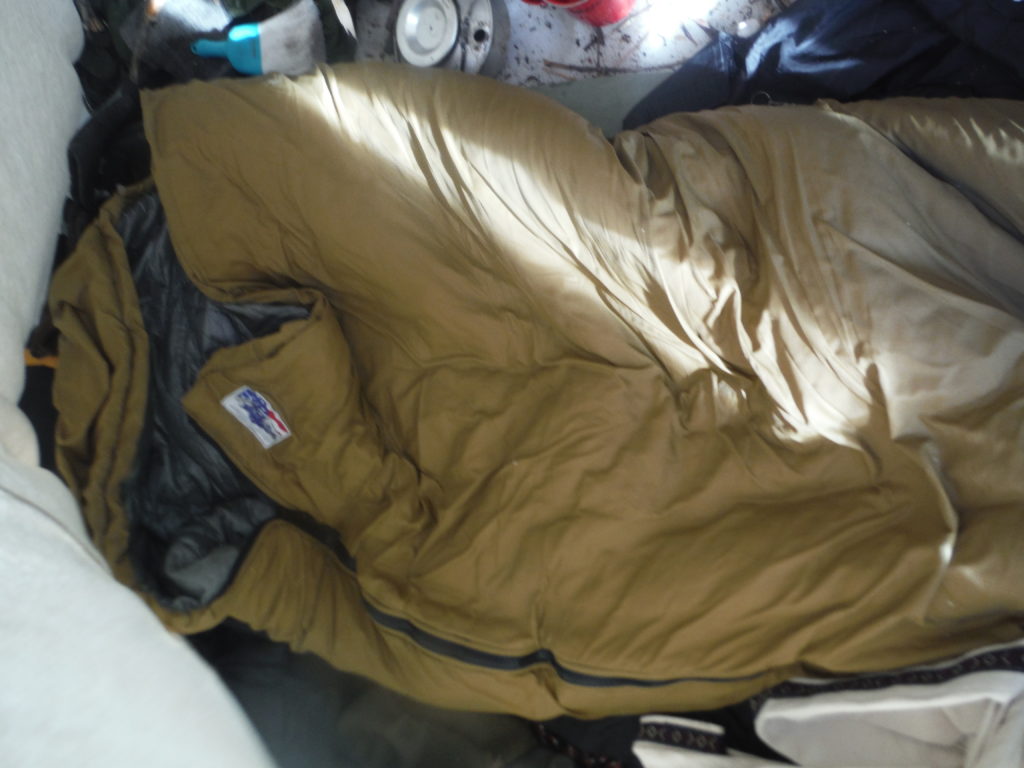
Love this Wiggys bag! It was my Dads.
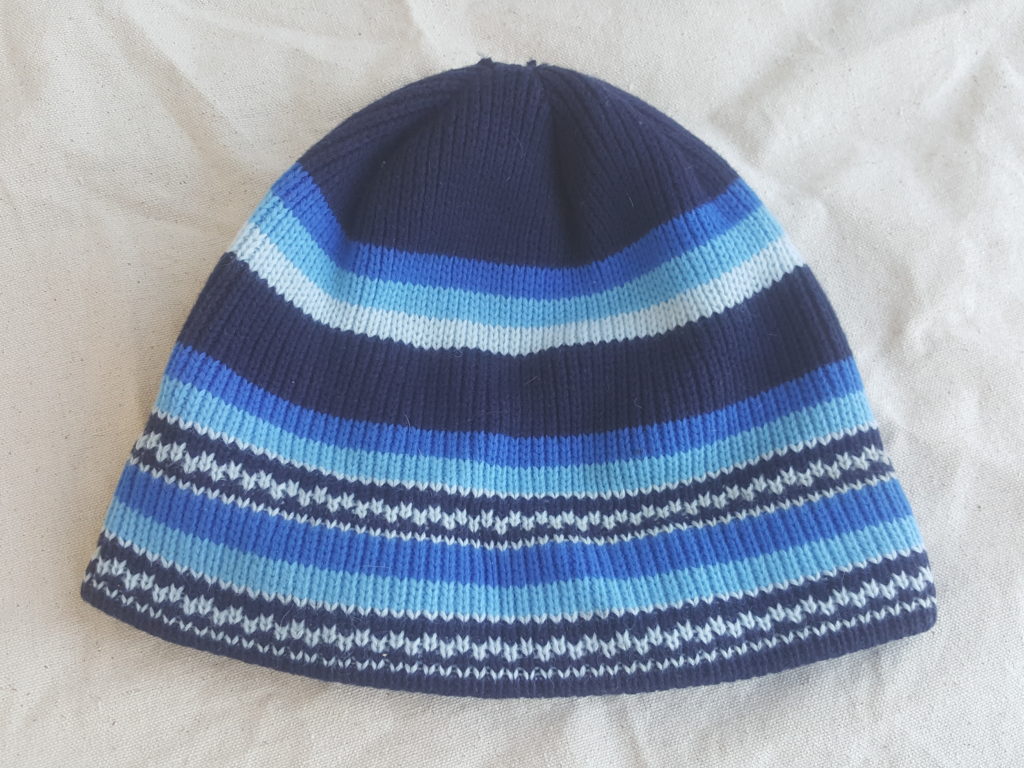
I think this hat is from the 70’s ha ha! It was my Dads.
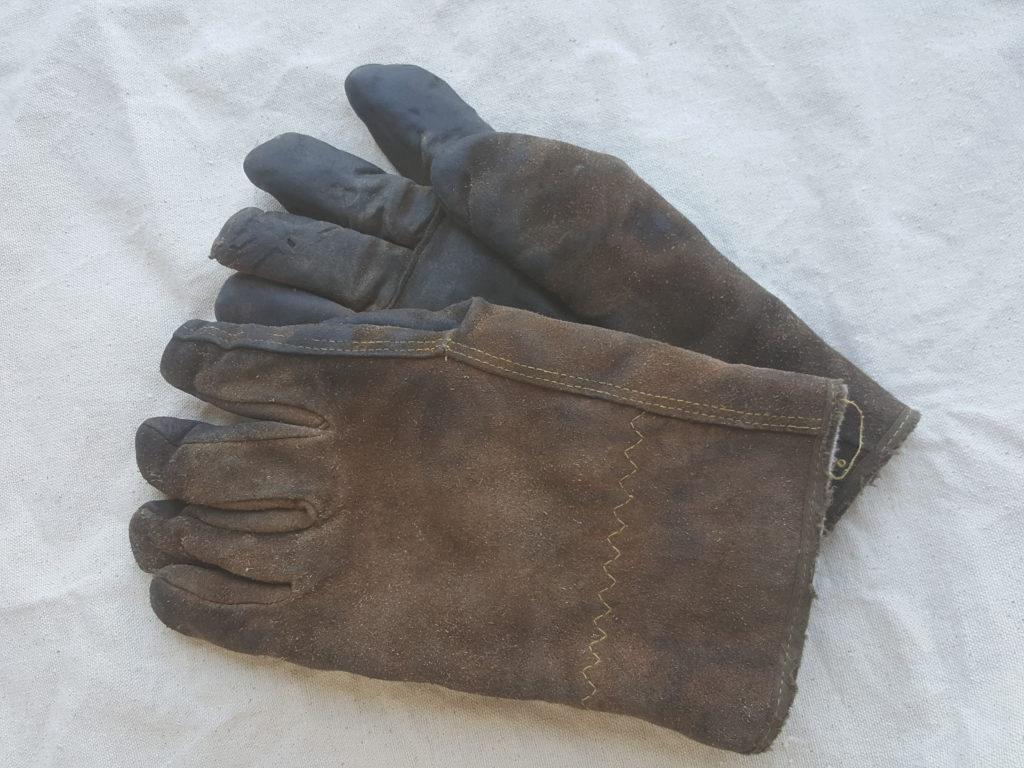
A gift from my mom many years ago. These fire gloves go everywhere with me. They have seen countless fires and helped cook many meals!! Well used!!
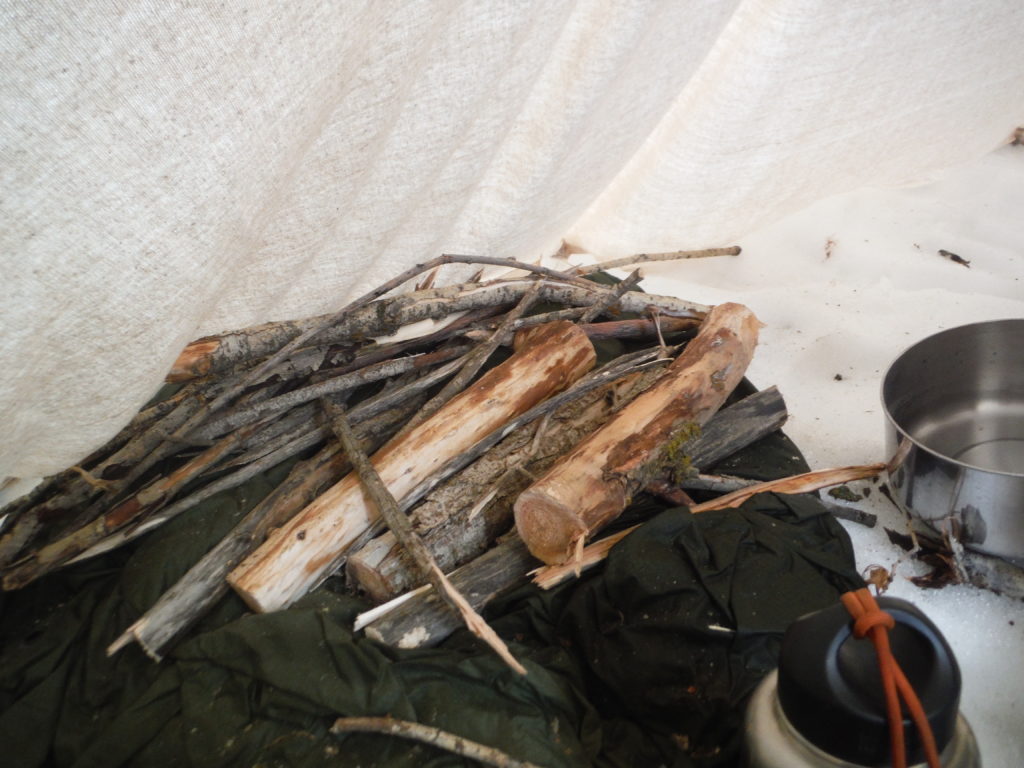
Firewood drying.
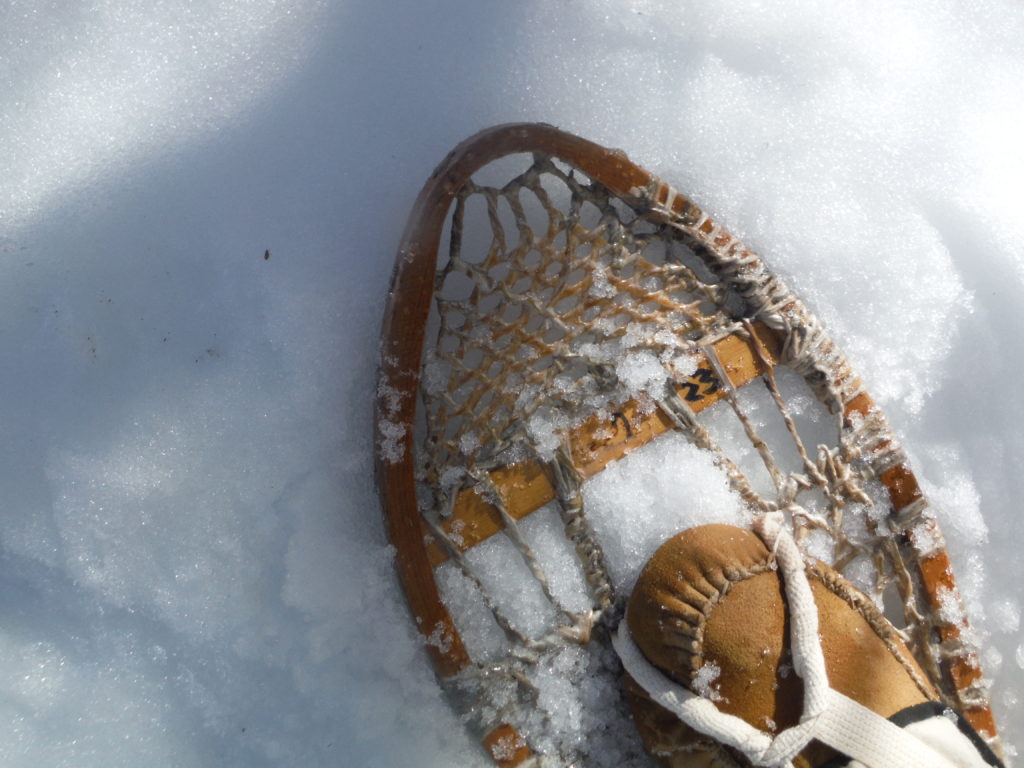
My lamp wick bindings need to be adjusted better.
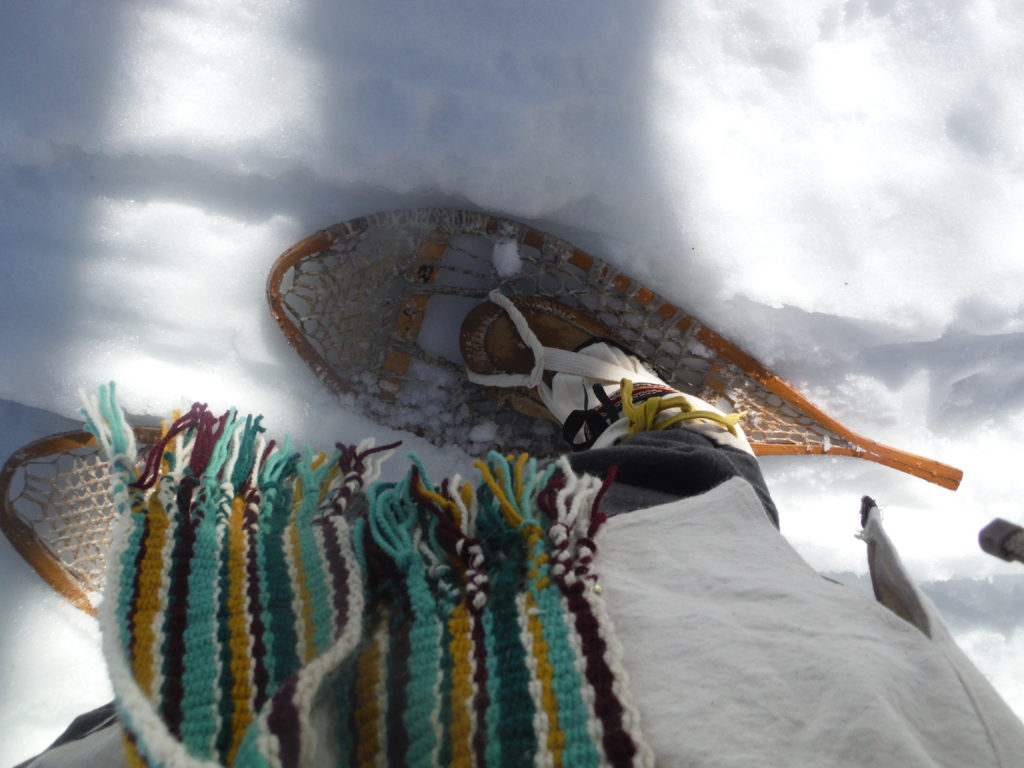
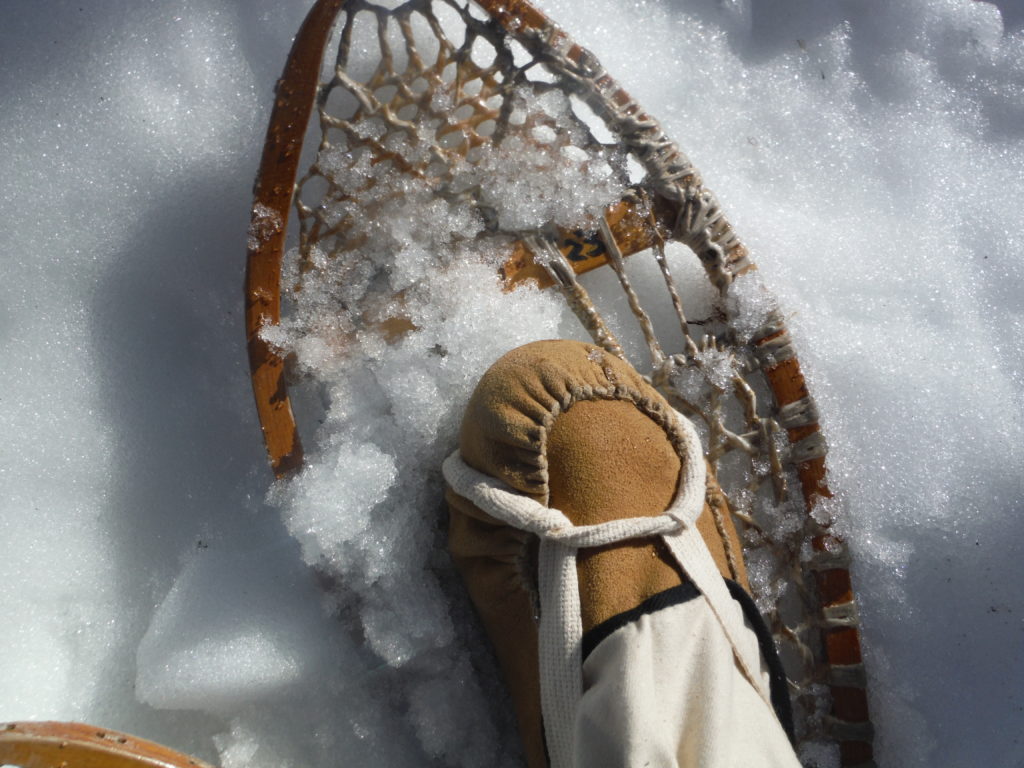
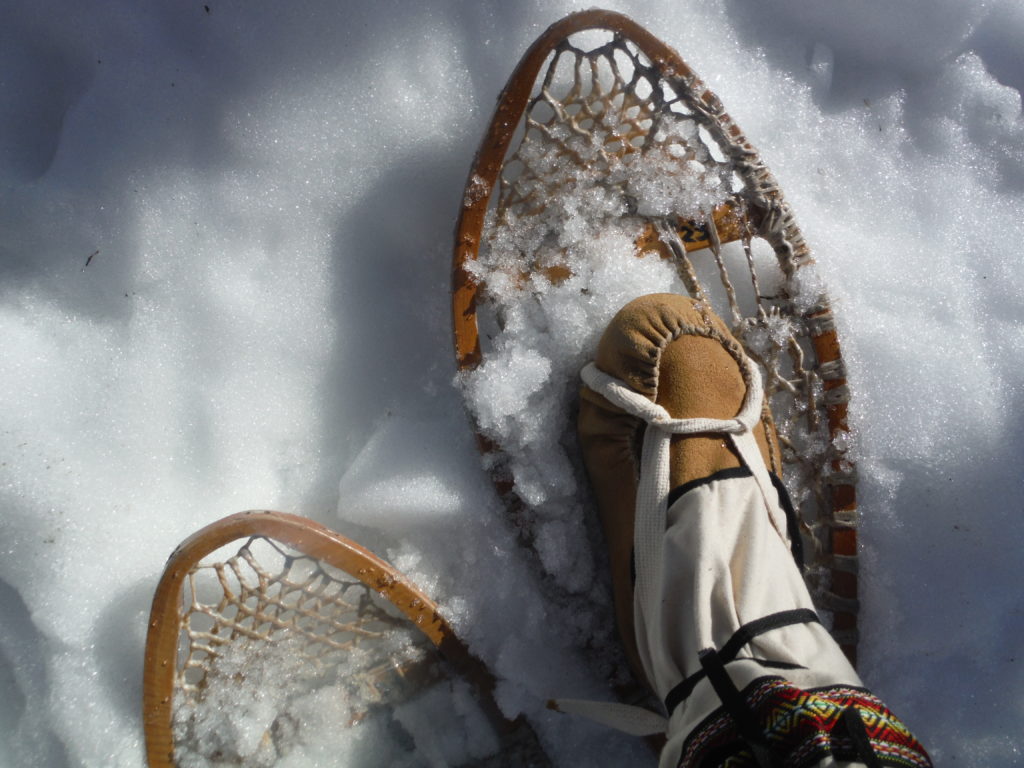
Binding adjusted!!
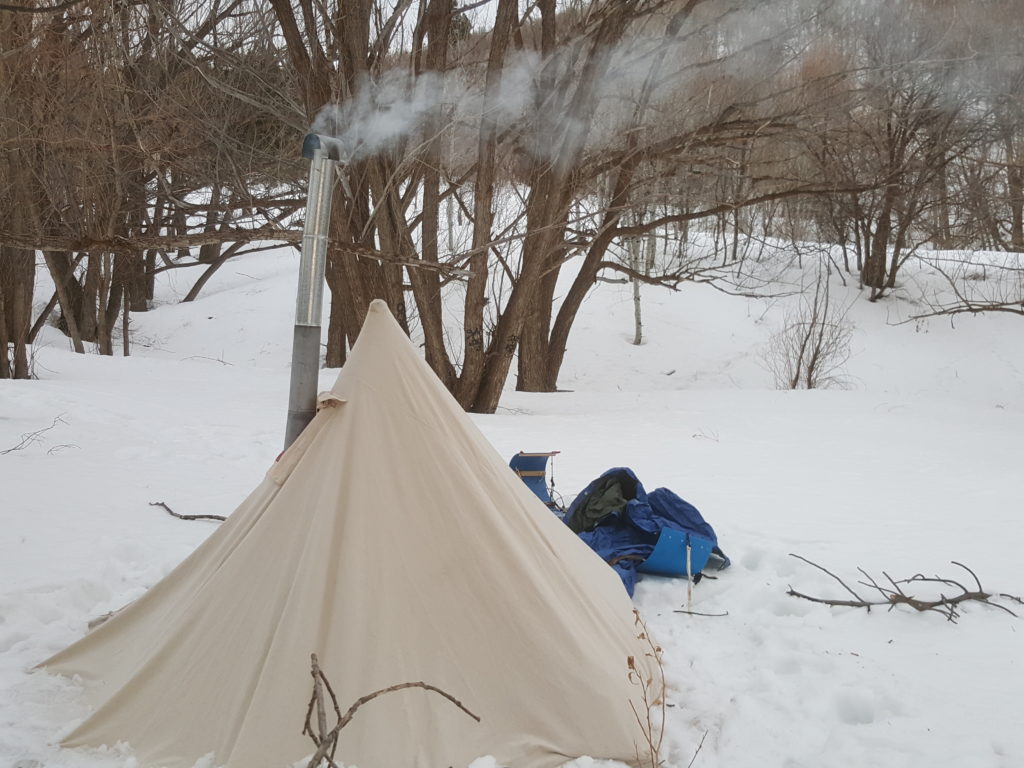
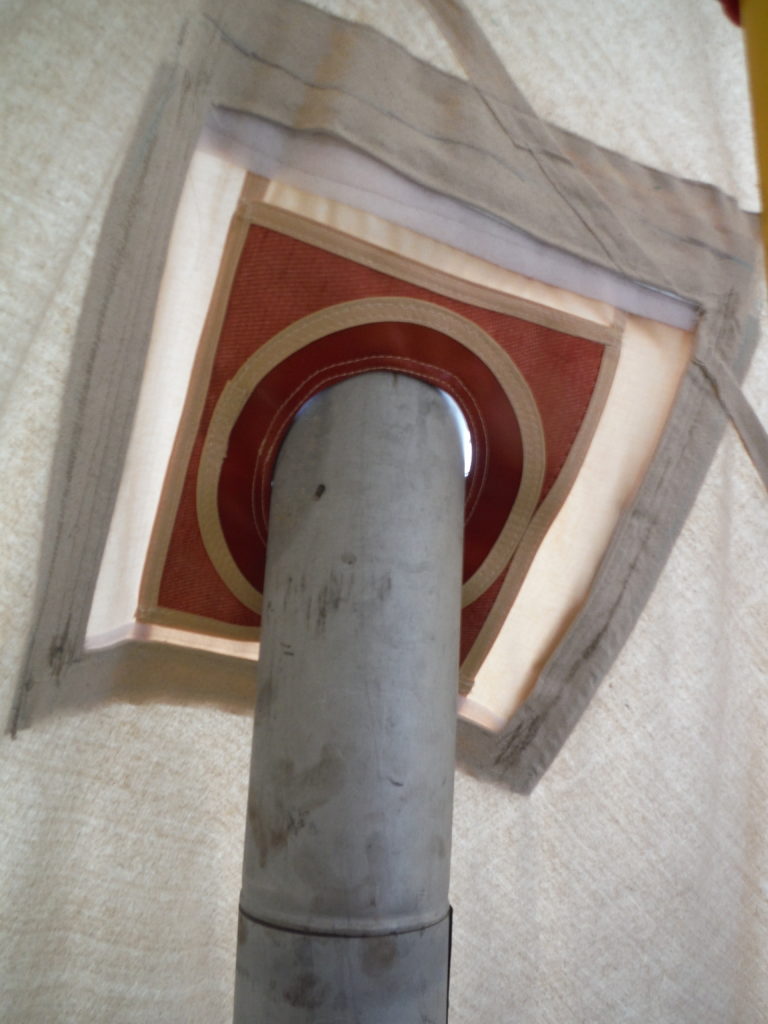
How I installed the stove Jack.
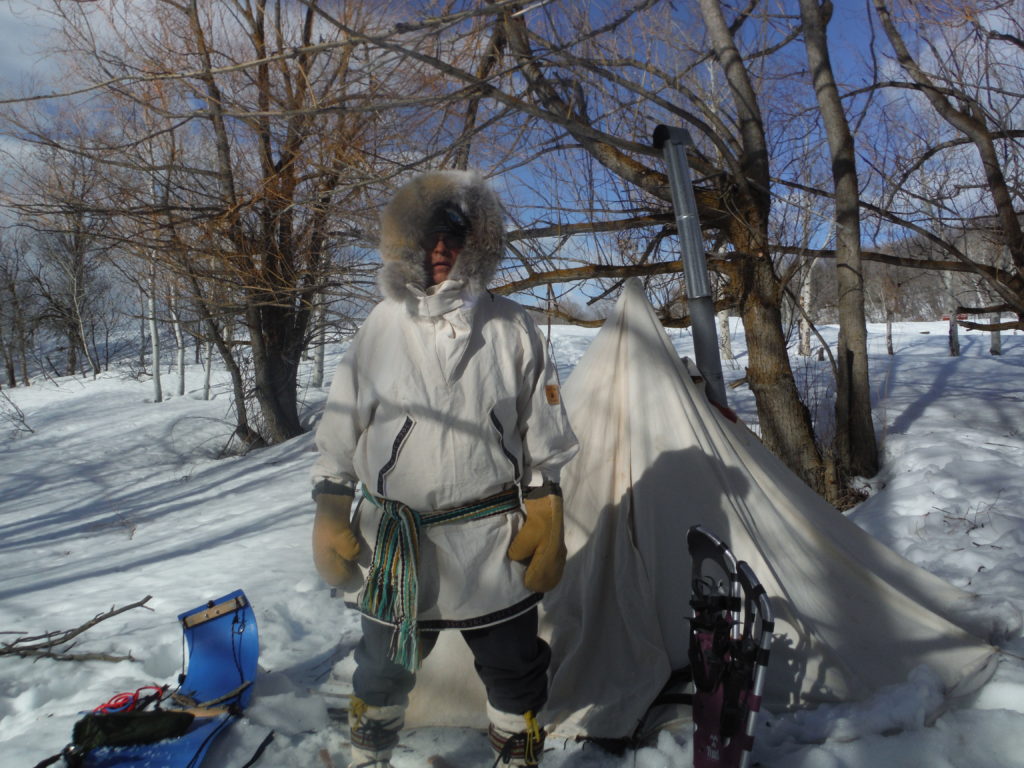
Anorak with Coyote ruff and traditional handwoven sash!
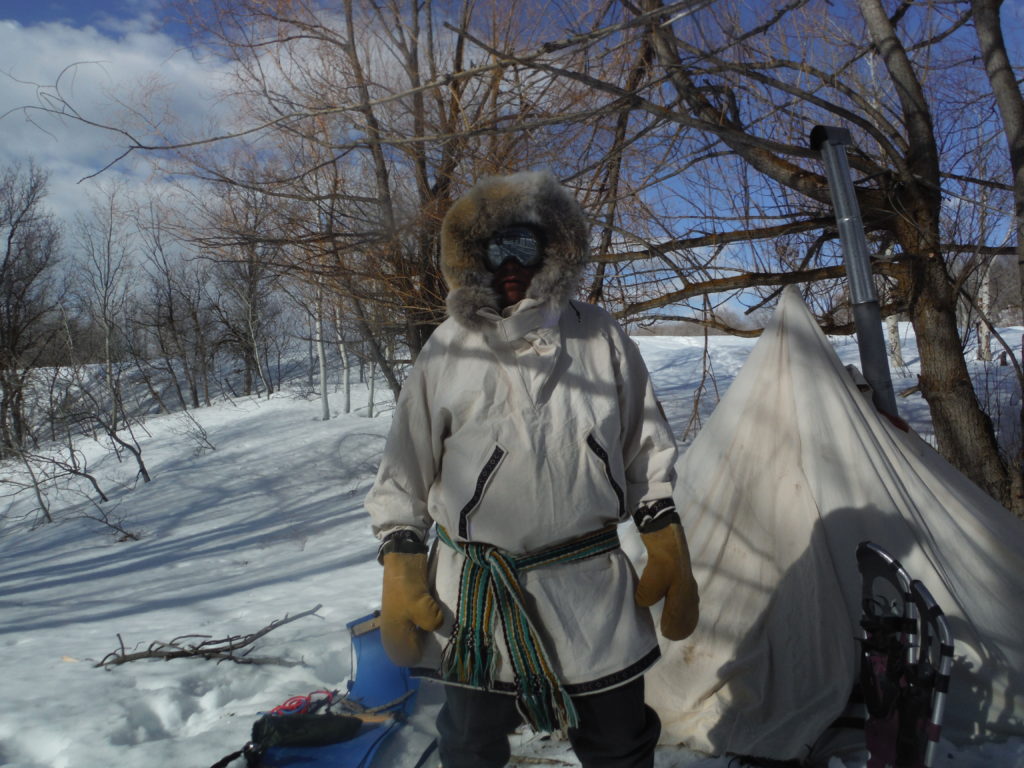
This L.O.T.N. Anorak will be so nice to have on future treks when temps are colder and the wind is a blowing!!!
Thank you Sandy for your work! You made me an excellent D.I.Y. Anorak kit!!!
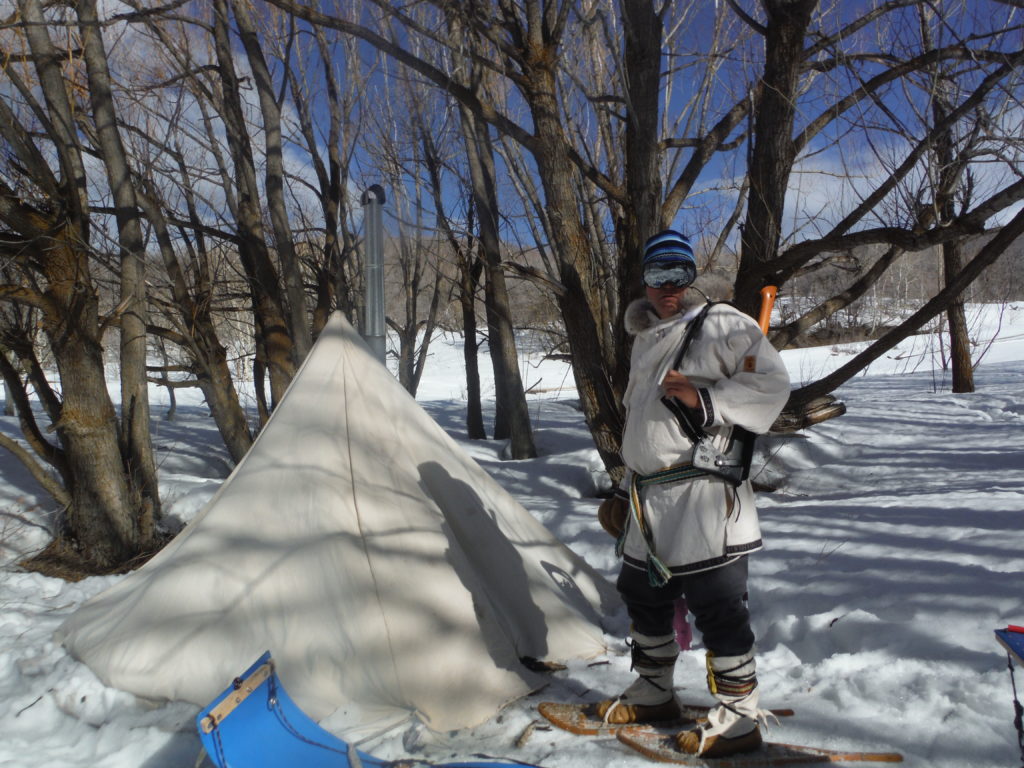
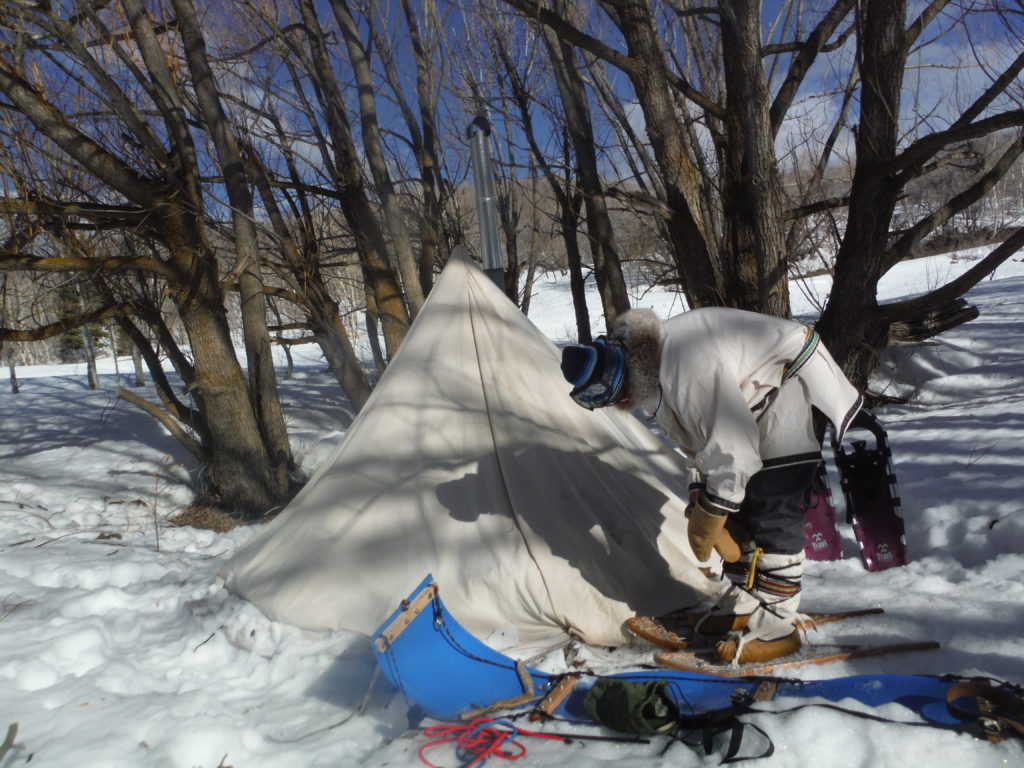
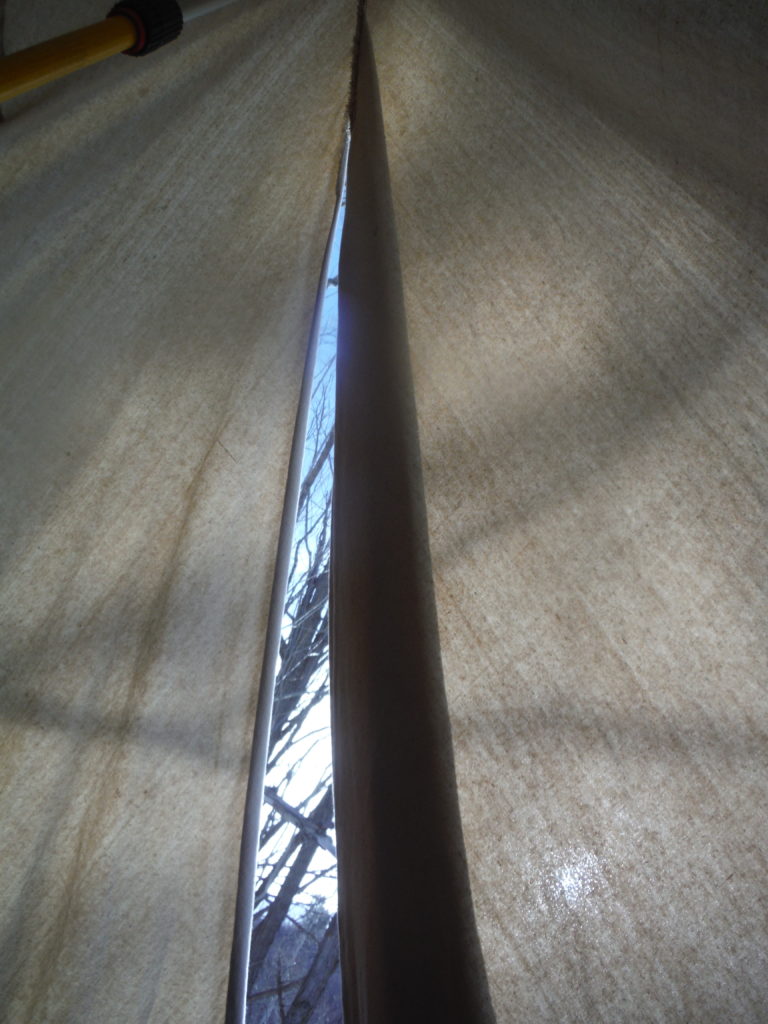
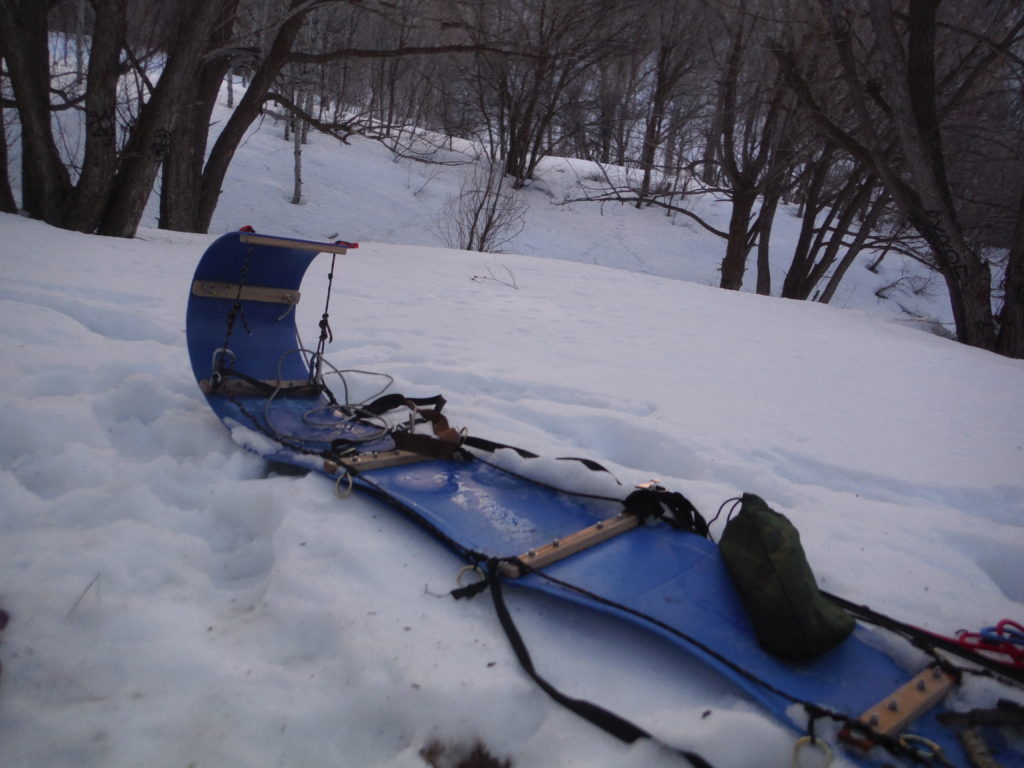
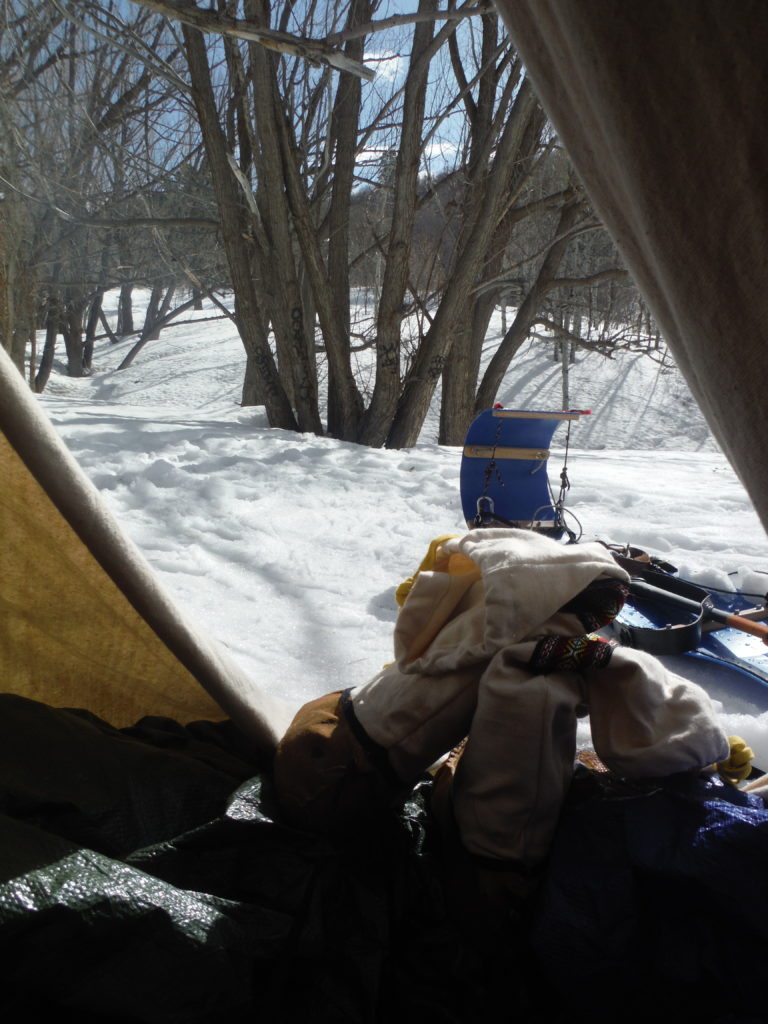
Morning looking out the tent door and listening to wild turkeys off in the surrounding hills! I tried to make video of them making all the noise but it did not turn out!!
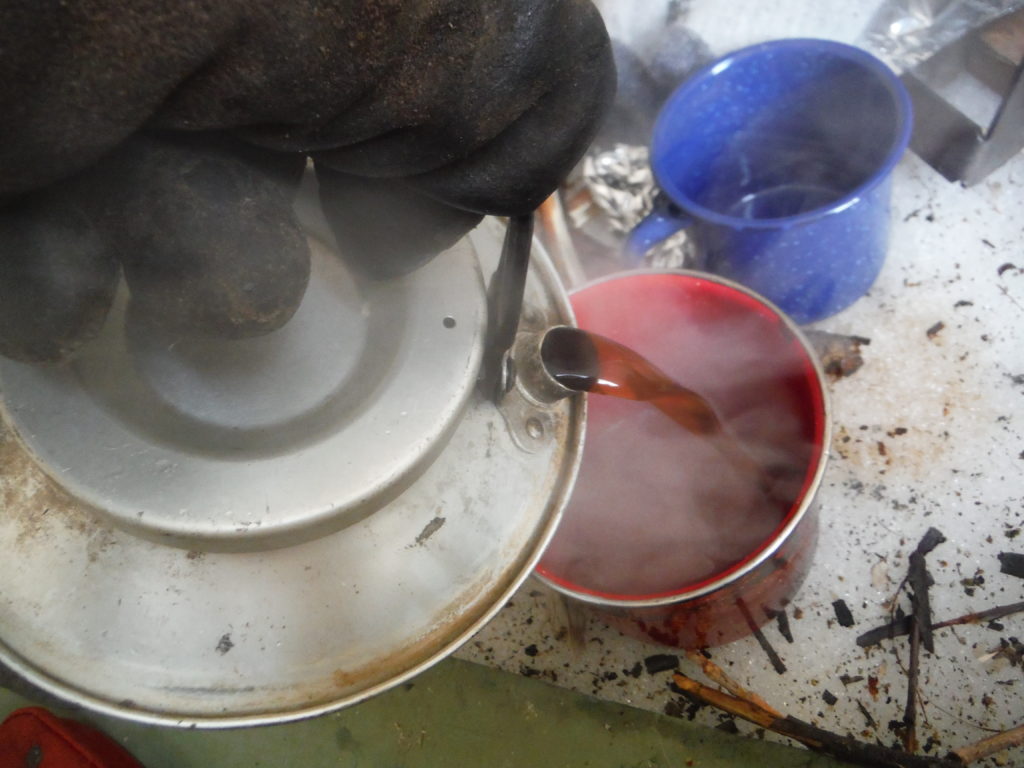
Good morning Coffee!!!
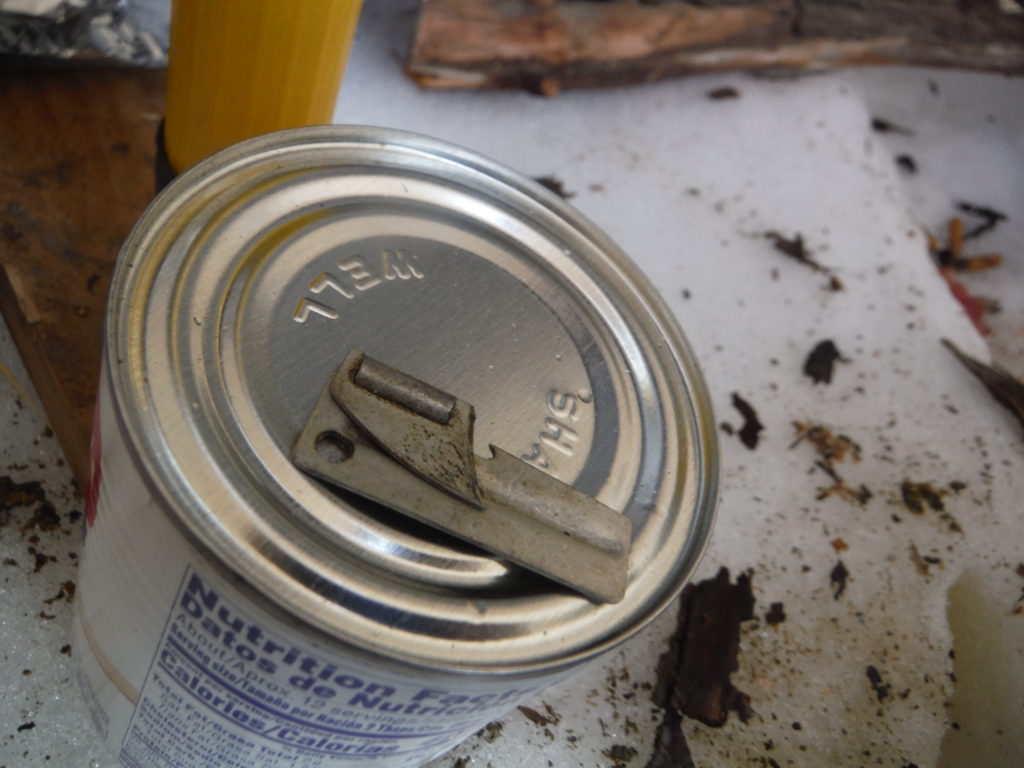
A little evaporated milk for my coffee. I’ve had this handy little P-38 can opener for years!
This style was made in 1942 for WWII ration cans. It’s so small no reason not to have one in your gear.
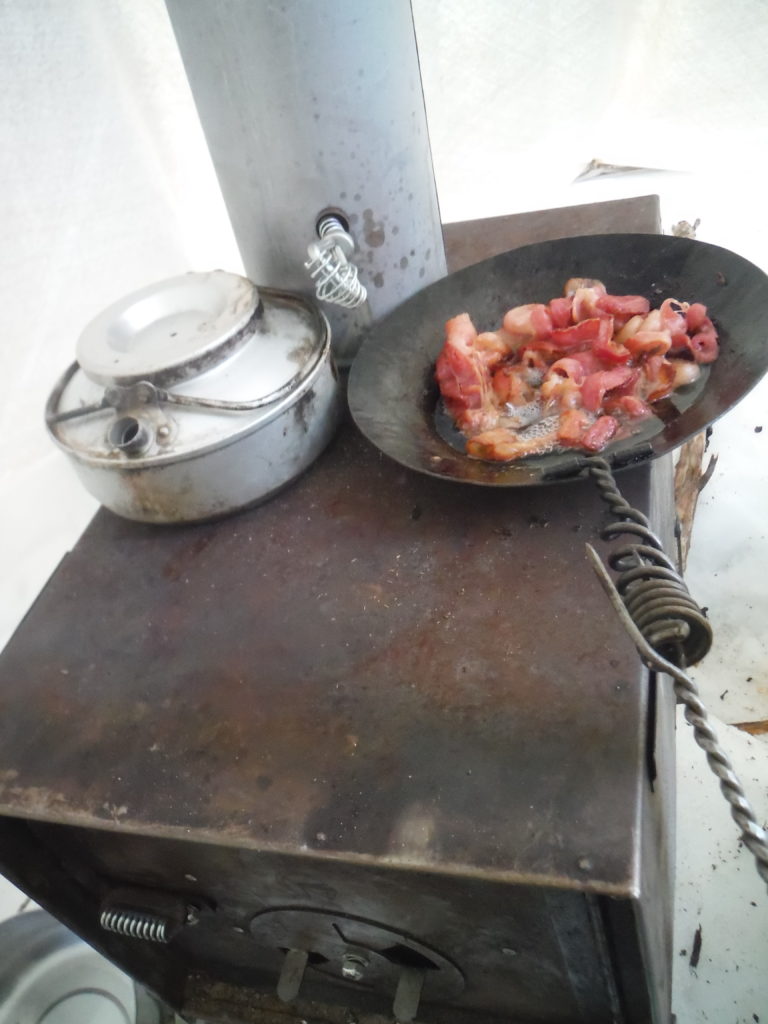
Head to the hills and cook your bacon!!!
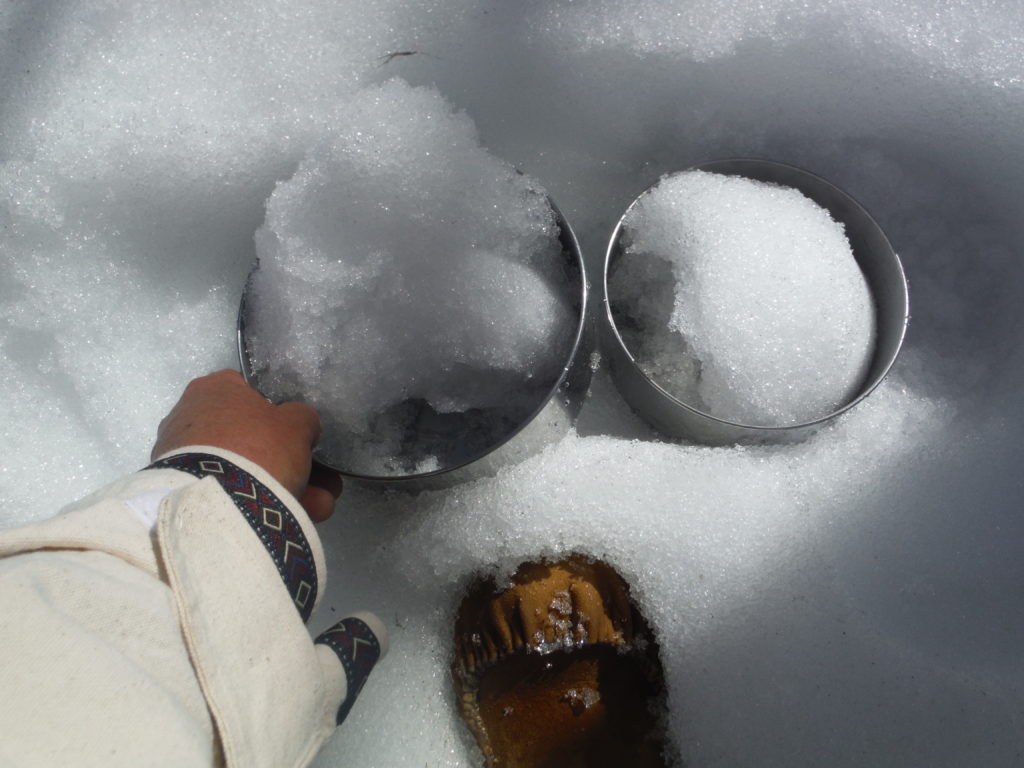
Collecting snow for water!
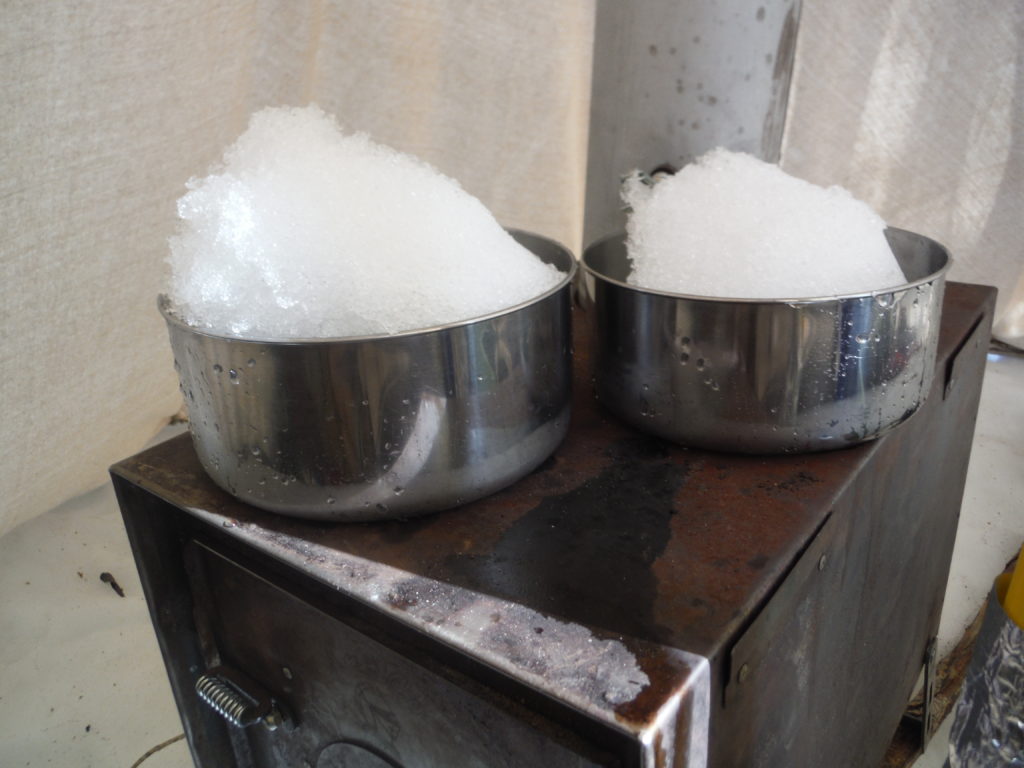
Melting snow for water!
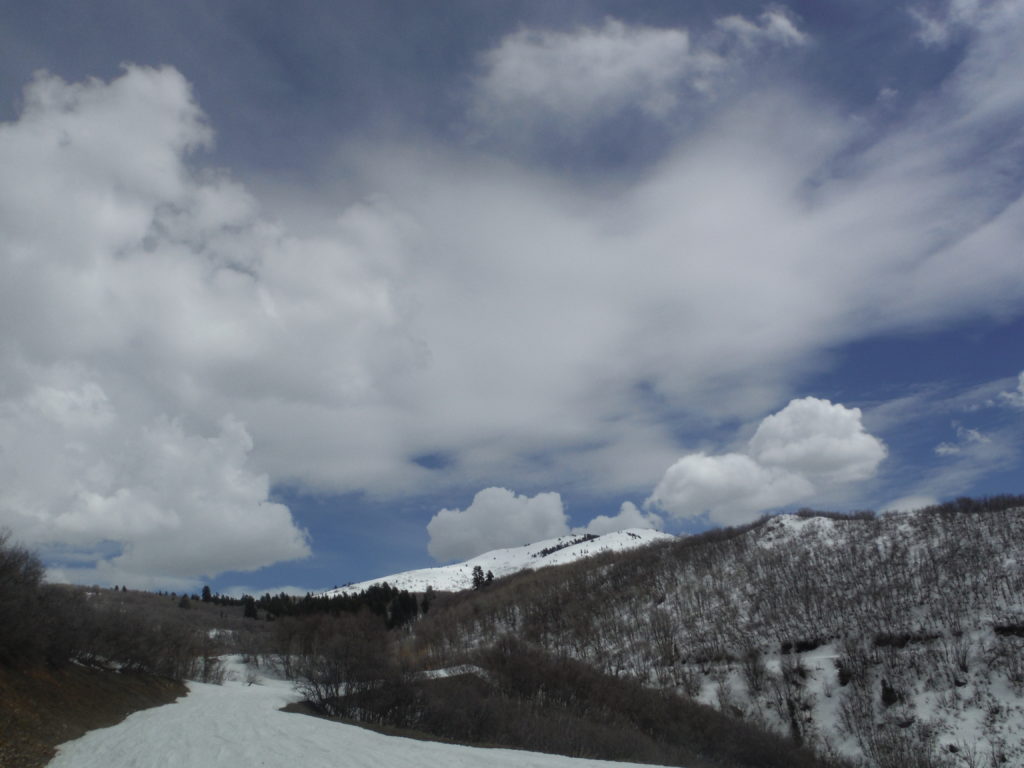
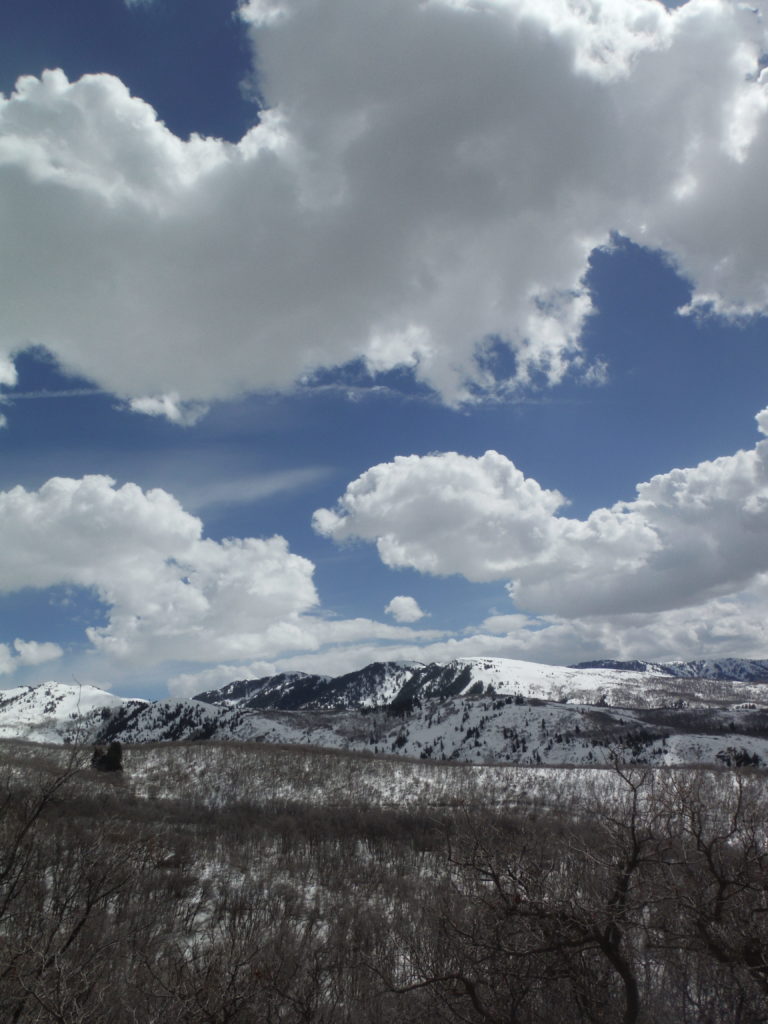
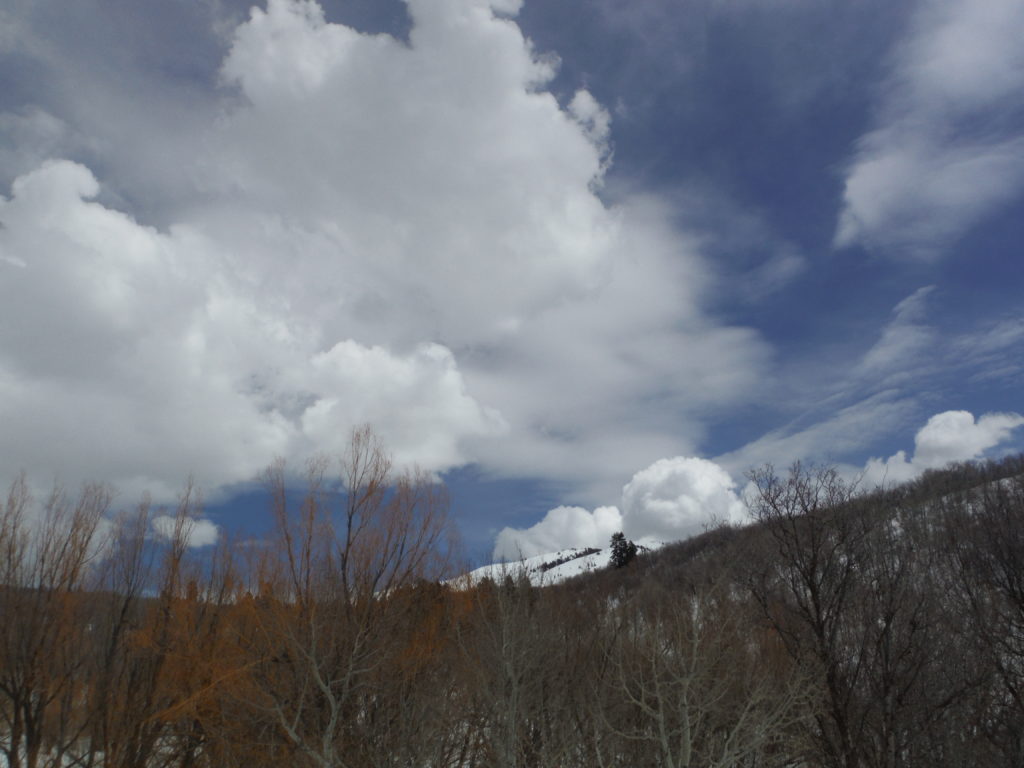
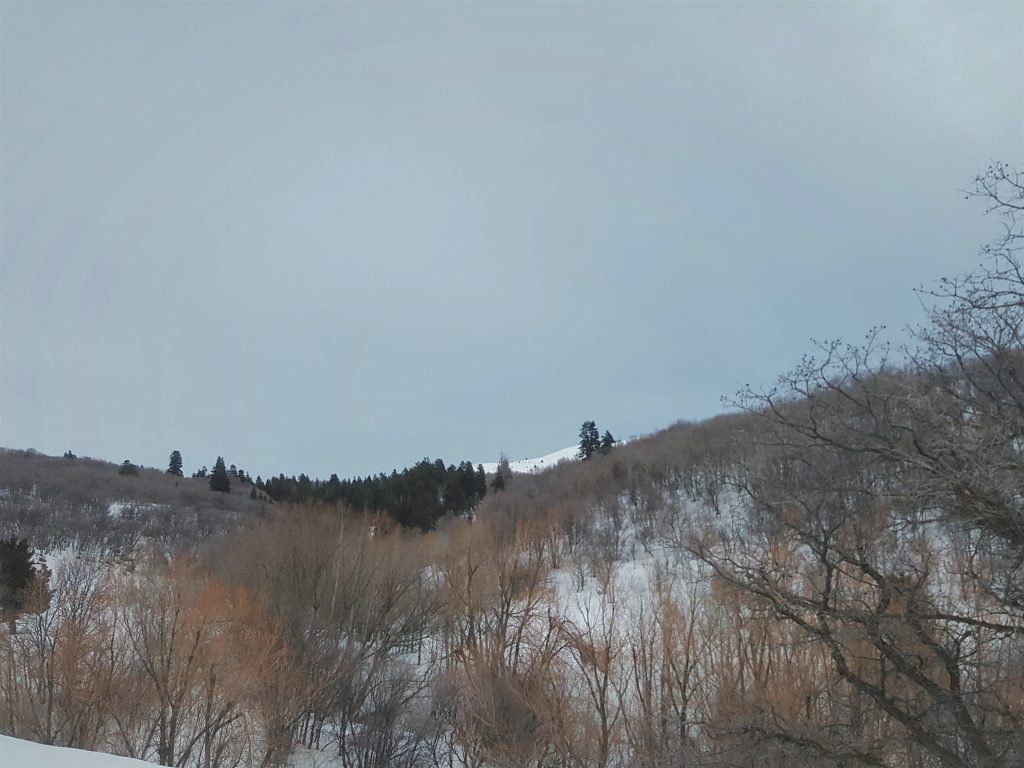
Beautiful day in the hills!
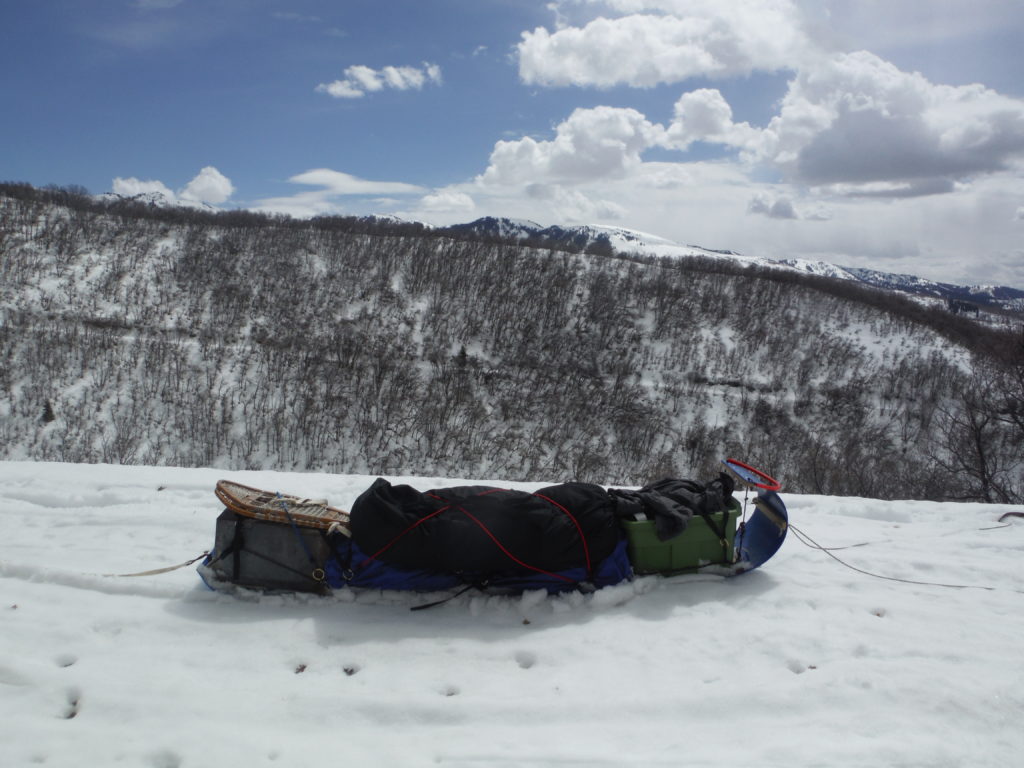
Coming down the toboggan wanted to go, but I had to stay on the uphill side… it wanted to slide at an angle on any slope of the grade. Kind of cool…this toboggan is a strange animal! Any flat smooth areas, I could drag it back in my track!! I would not rely on this toboggan for a week-long winters trek. I’d be afraid it may break in half at the overlap.
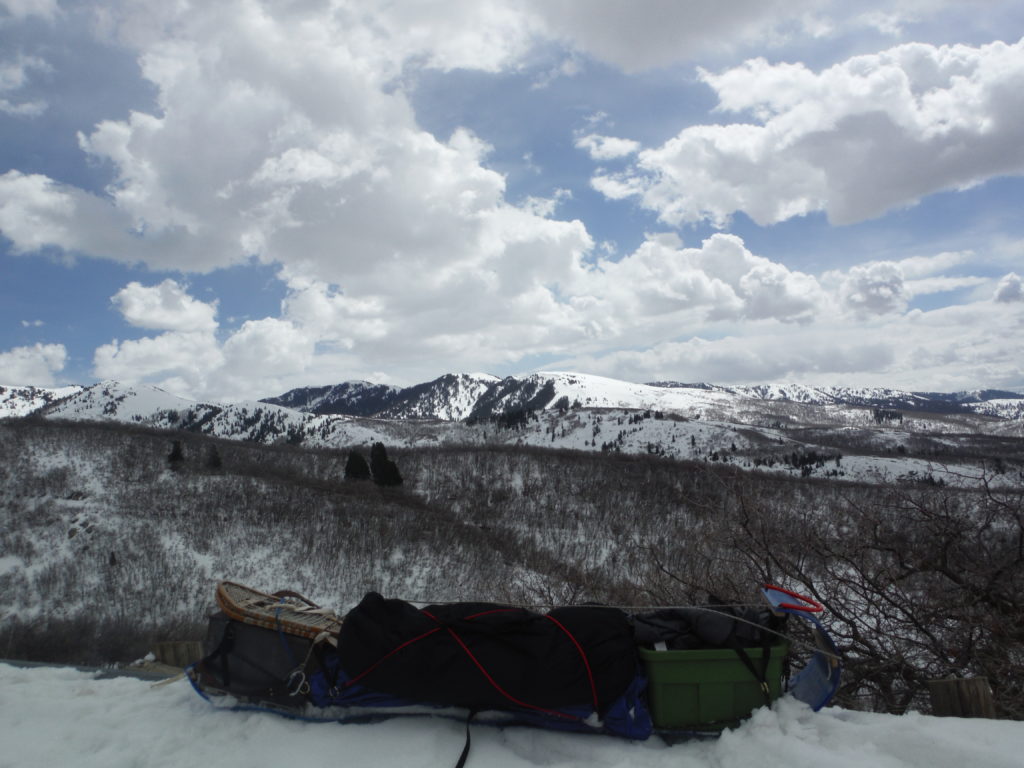
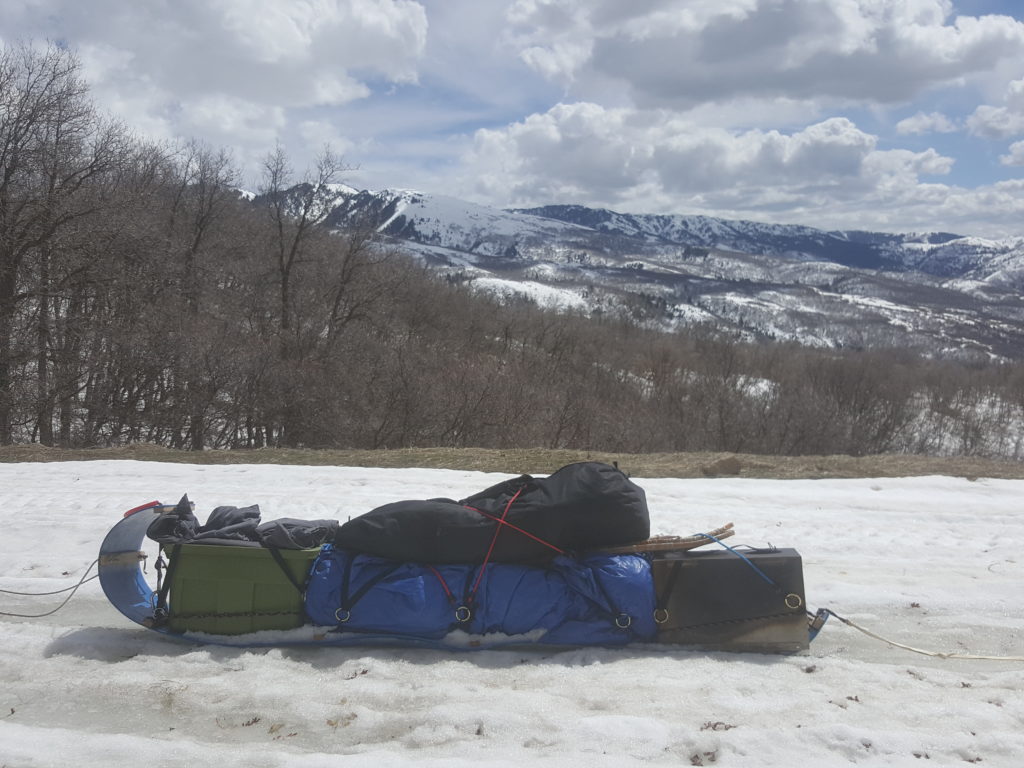
It served the purpose of getting me started this year and it works fine!!
Would a HDPE – High density plastic toboggan track and pull better? Probably, I hope to be testing that out sometime this next season.
The weather was warm on this trip, being late winter. There were no real adverse conditions. Other than a windy night in the tent. I slept warm and dry! So nice to get out and enjoy the mountains!
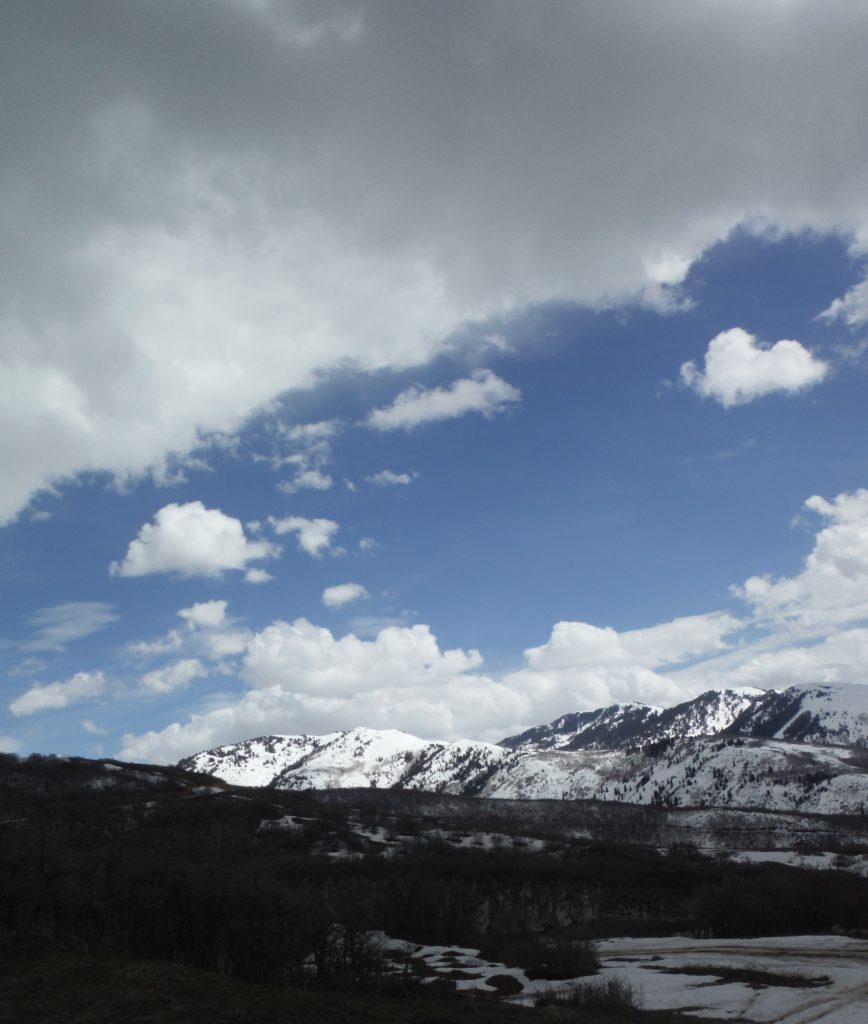
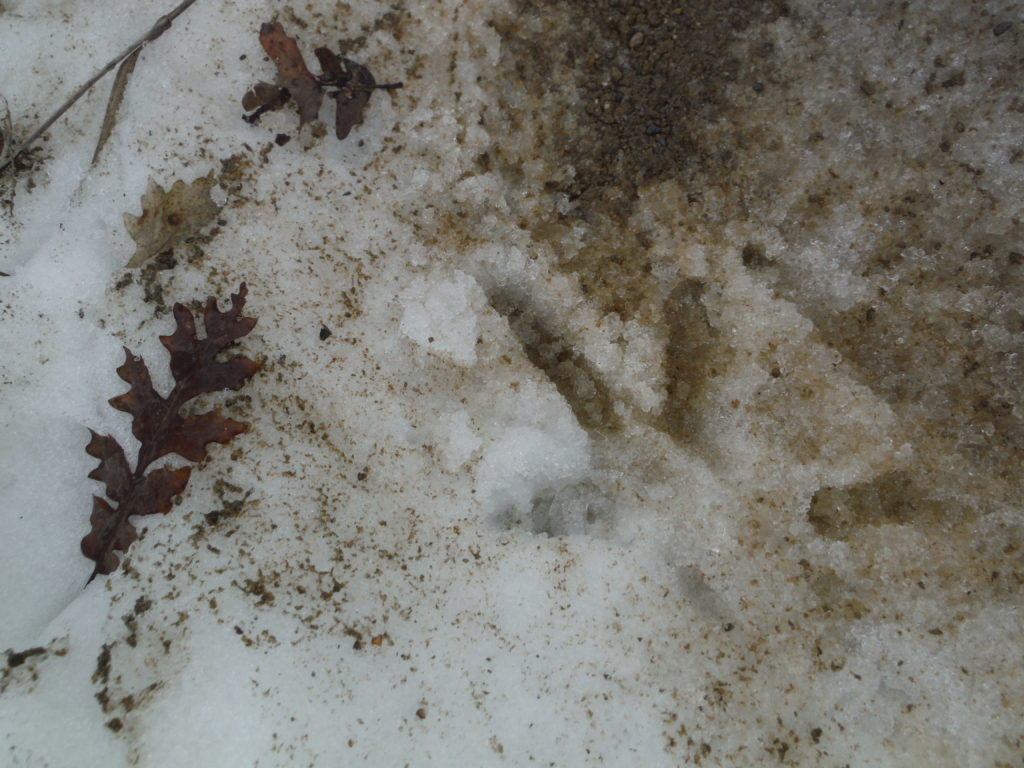
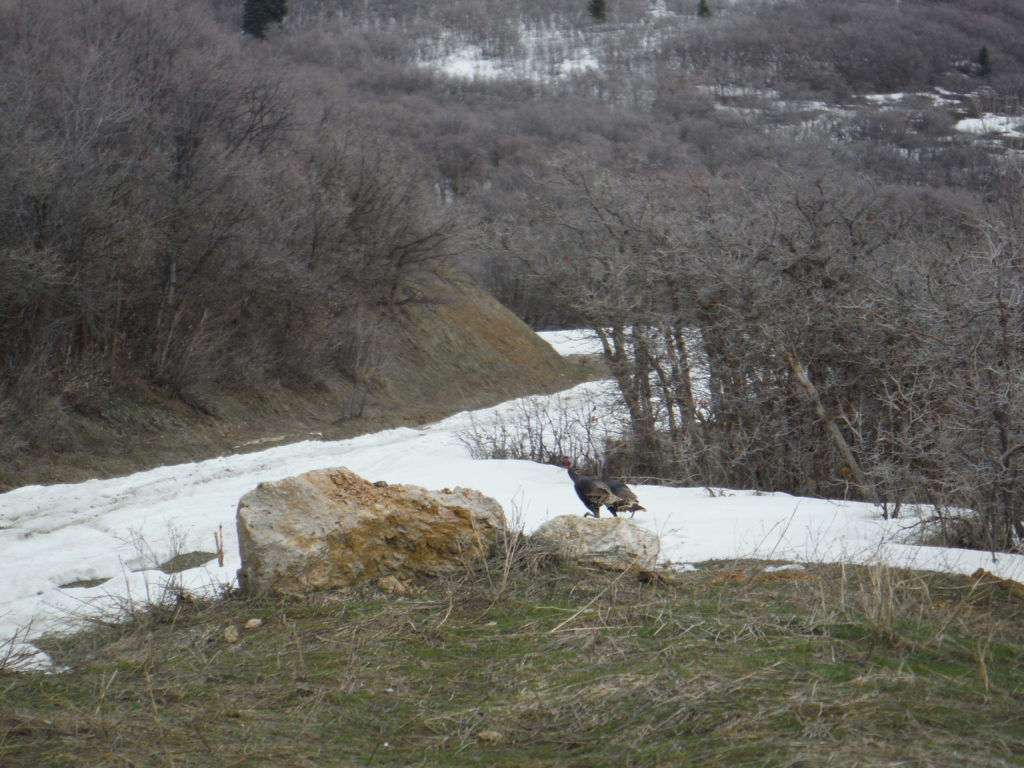
I heard many wild turkeys and found lots of sign.
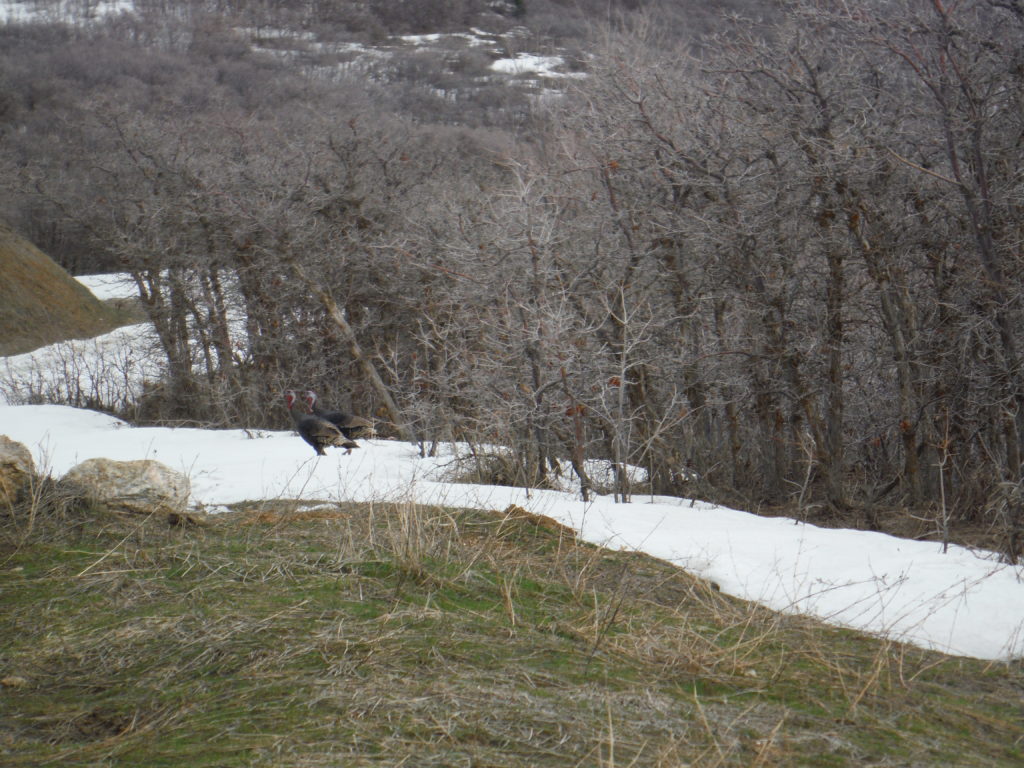
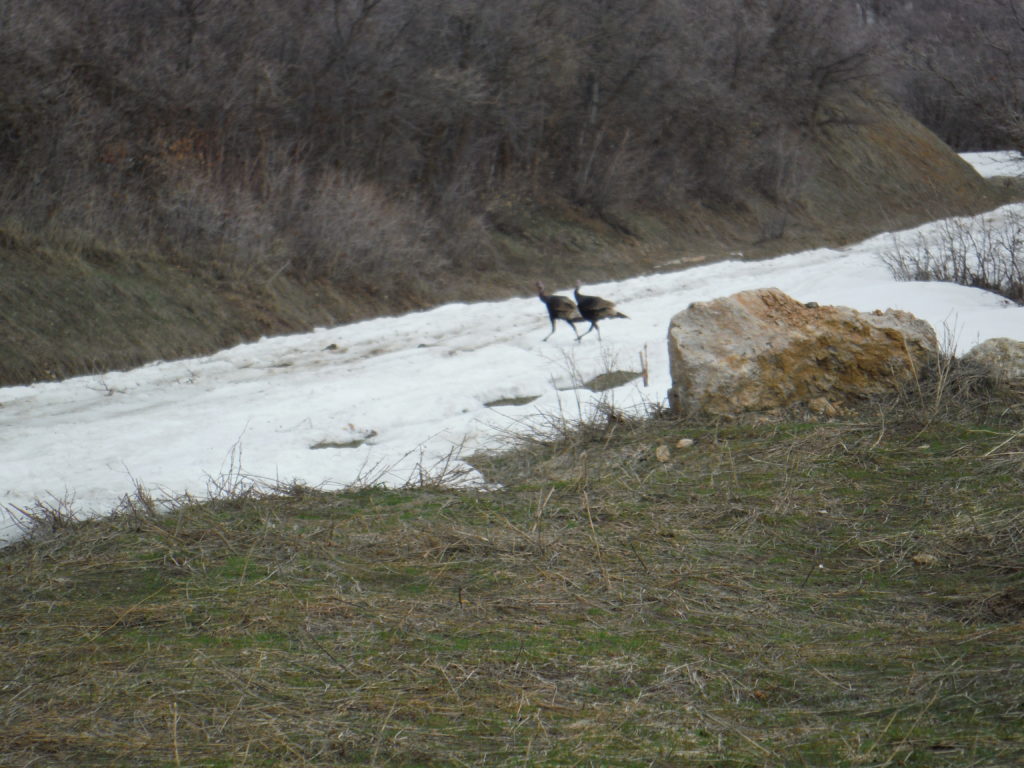
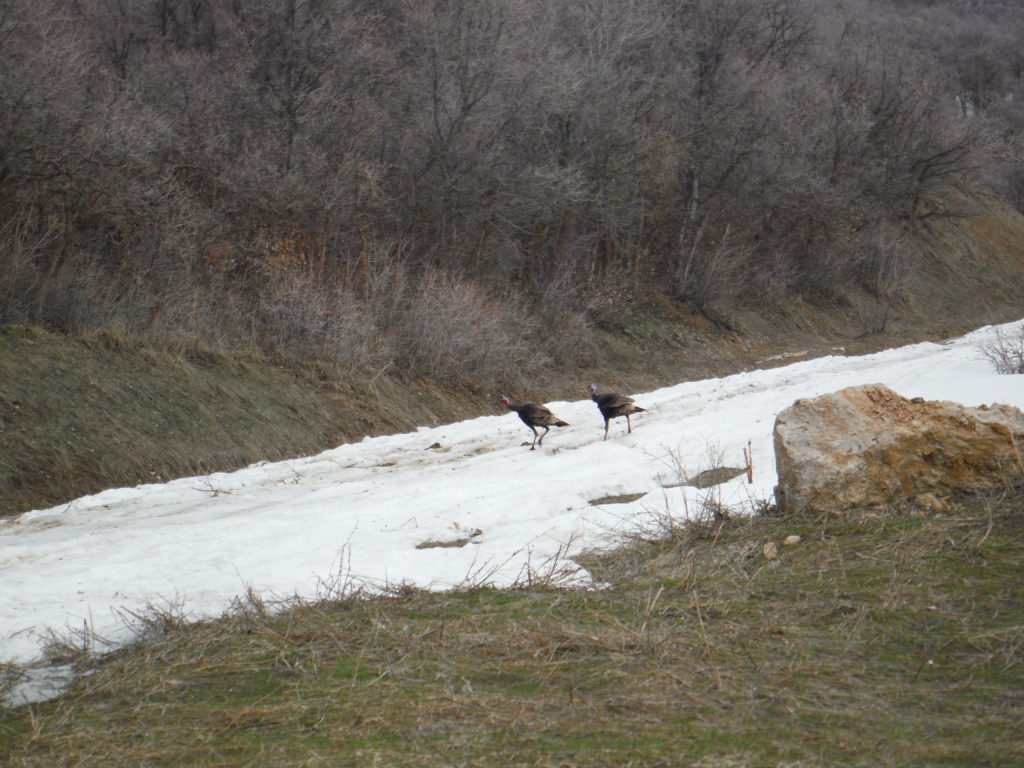
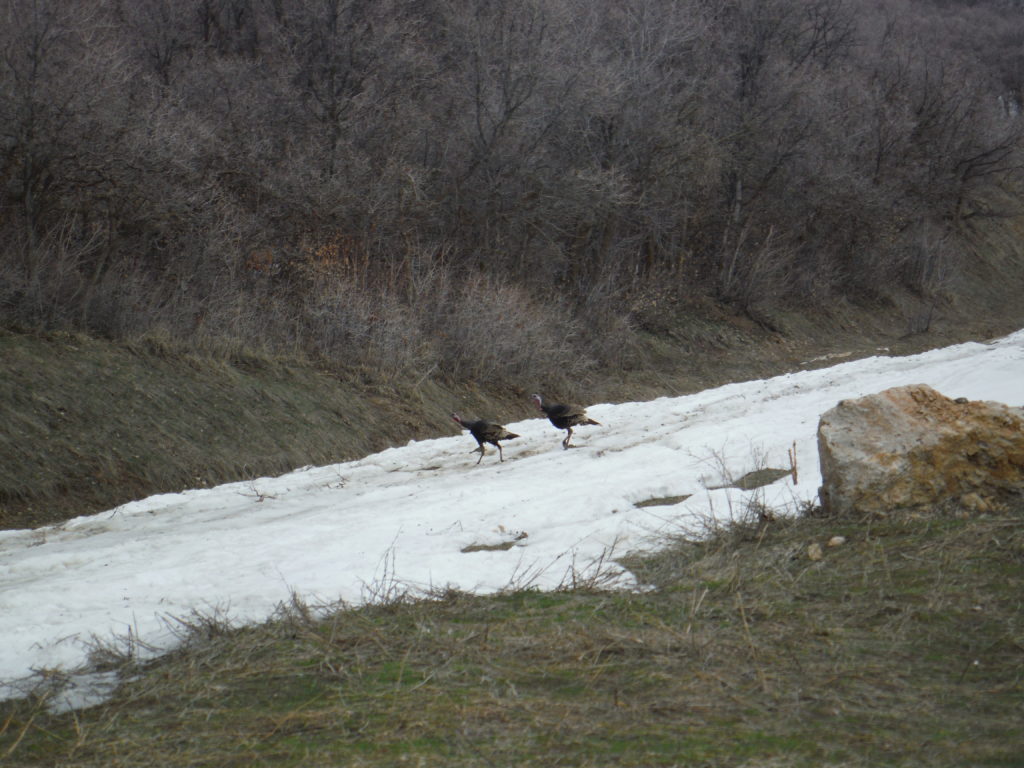
Just before I was ready to pack everything in the truck. Two turkeys walked out of the oak trees and crossed the road.
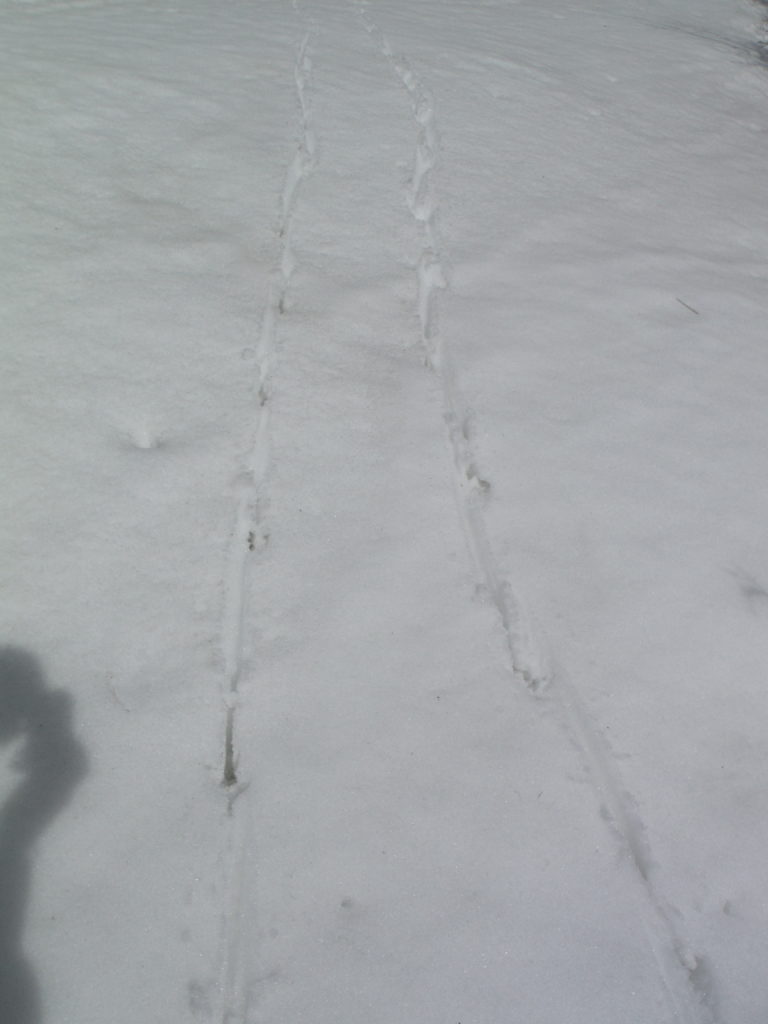
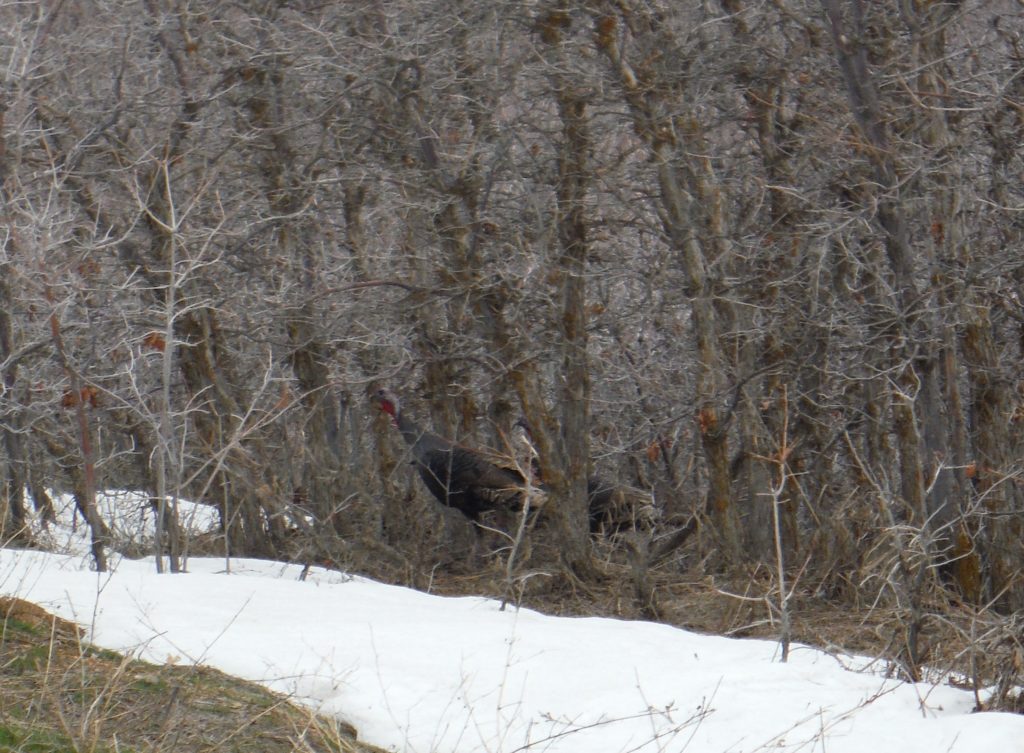
So cool to see them.
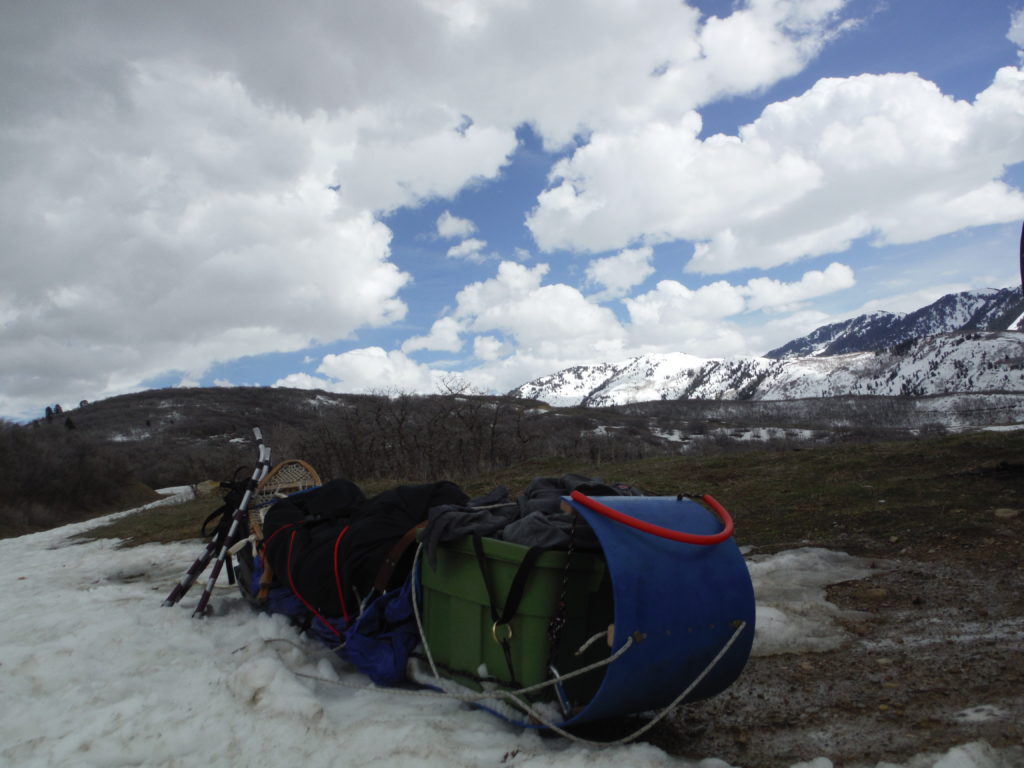
I learned a lot making many Items for this traditional style of winter travel.
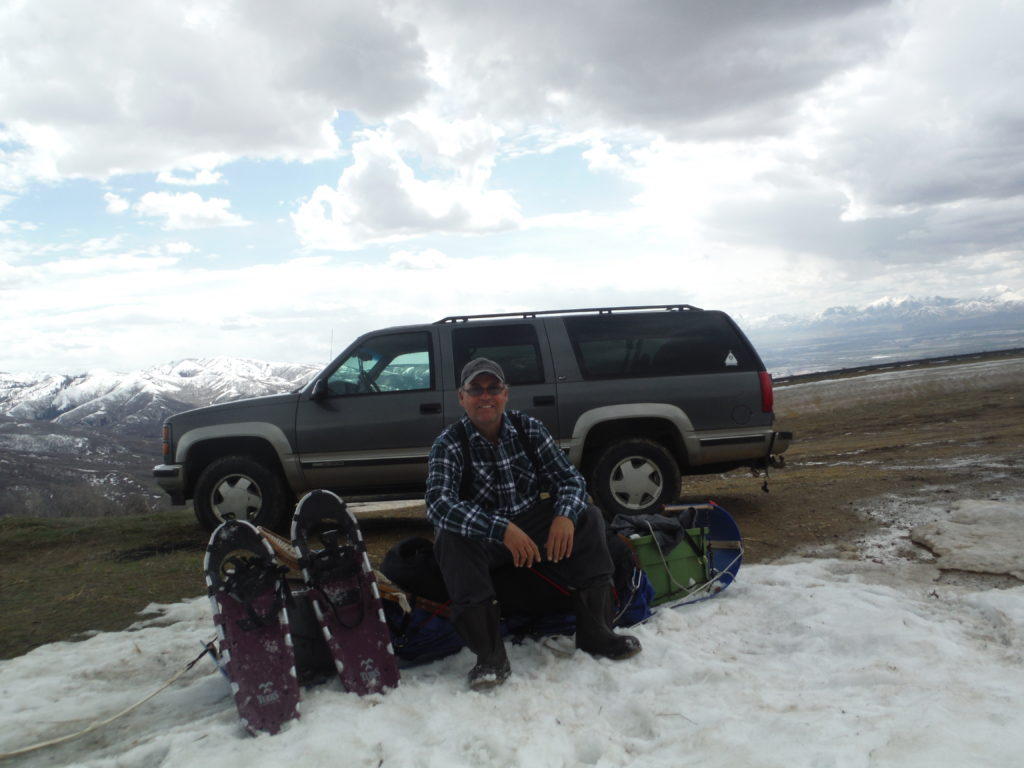
All said and done testing the trash toboggan and kit went well. I found many things that will change to make for better travel and setup. I am so stoked about this method of winter travel!
I’ll keep learning and honing these skills.

4 comments for “Trash Toboggan Trail”